|
THE CASE : Open the case so
that you have access to both sides. This allows easier access and makes fitting
the Motherboard a lot easier. See below image.
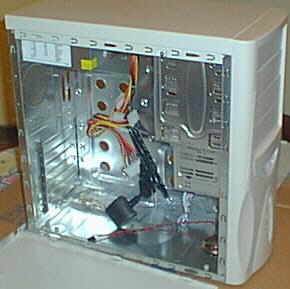
Remove the power cable and the bag
of small parts that should be there to help fit the motherboard. If the Power
supply is obtrusive then remove it too. It is usually held in place with 4
screws at the back of the case. Now set the system on it's right hand side.
THE MOTHERBOARD : Now remove
the motherboard from it's box, and remove the anti-static packaging, keep the
cables, manual and sometimes the accompanying CD in the motherboards box. Any
further CD's or cables that you come across should be placed here also. Image
below is of motherboard.
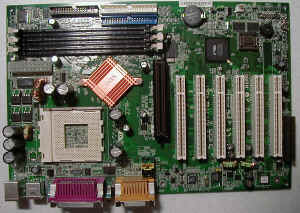
PUTTING IT TOGETHER : Note
that on the bottom left the image above is the PS/2 ports (METALLIC), USB Ports
(METALLIC), parallel Port (RED), and COM ports (ORANGE), well these will
have to be aligned up to the metal plate at the back of your case. Some cases
come with different metal plates, if this is the case then select the plate that
aligns with your port setup, make the holes in the plate that allow the ports
access through and put it back into the case. Otherwise set your motherboard in
the system, find which sections need poked out, remove the motherboard, and then
remove the appropriate areas on the back of the computer to allow the ports to
be used externally.
Now that you have the holes made at
the back of the case for your ports your next step is to fit the stands in the
case that your motherboard will be screwed into. You will see screw holes on the
motherboard, these are what the small stands must align up to. No stand should
be touching another parts of the motherboard, as this will cause serious
problems. The stands are pictured below as the gold items on the plate. You can
also use the white plastic items on the plate as further support for the
motherboard.

Now that you have all your stands
fitted (you can check each one you fit by placing the motherboard on top and
checking the alignment is correct) and all the plastic stands, (extra support)
place your motherboard in the system, confirming all align up to the holes on
the motherboard 100%. Make sure the ports at the back are tight in also. Now
screw down the motherboard with the appropriate screws that are in the plate.
Your motherboard is now fitted.
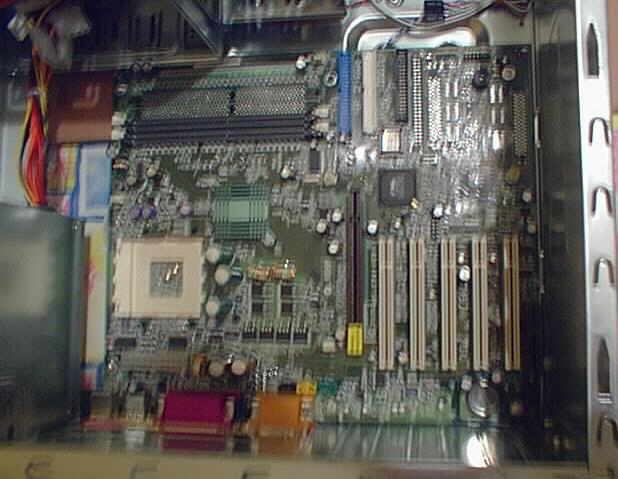
NOTE : DO NOT FORCE ANYTHING, IF IT
DOESN'T FIT NEATLY AND SECURELY THEN YOU HAVE DONE IT WRONG OR LEFT A PORT HOLE
COVERED. RECHECK EVERYTHING, FITTING THE MOTHERBOARD AND CASE PREPARATION IS THE
MOST TIME CONSUMING PART OF BUILDING YOUR SYSTEM. ALSO DON'T BREAK ANYTHING OF
THE MOTHERBOARD. Image below is of fitted motherboard.
Click
here for Build your own computer step by step tutorial Part 4
Privacy
policy Link
Exchange Links
page Contact
Info
By
using this website you are agreeing to this Disclaimer & Legal
statement
|