
|
| Microsoft's Windows XP Professional X64 Windows Parallel Install step by step | INTRODUCTION |
Welcome to Microsoft's Windows XP Professional X64 Windows Install step by step. This will give you an idea on how to do this when and if the time arises for you to either reinstall the operating system, install for the first time or upgrade your present operating system. This install guide is fully graphical and will take you through each step of the installation. What you will require to do this walkthrough is A Computer that has a 64 Bit Processor A Windows XP Professional X64 CD A Computer with CD-ROM access
To start this Windows install insert the CD from the desktop. The CD will autorun, else go to My Computer, the CD-ROM drive and double click on the "SETUP.EXE" file. The install will begin. Remember to backup all important information before performing this task.
The "WELCOME" screen will appear first, select "INSTALL WINDOWS XP" by clicking on it with the mouse. 
Windows will now gather some information from your computer. 
Now you will be asked which type of install you want. Select "NEW INSTALLATION", click on "NEXT" to continue. 
Now the License Agreement, read it and click on "I ACCEPT" or "I DON'T ACCEPT", and click on "NEXT" to continue. 
Now it is time for your product key. The product key will be on the packaging that XP was supplied with. It is 25 digits long. Some OEM computers will have a sticker on the side or back with your product key. Input the key and press "NEXT". 
Now the Setup Options. Click on Advanced Options. 
Under "To this folder on my hard drive" is listed "\WINDOWS", change this to "\WINXP" (or whatever you want) and then click "OK". 
Now the Setup Options. Click on Accessibility Options. 
If you need a Magnifier or the Microsoft Narrator to assist install, select now, else click OK to continue. 
Now change the default language settings. Click "NEXT" to continue. 
Now you have the option to download Updated Setup files, if you want to and you are connected to the net, then click "YES" and press "NEXT". This is not necessary, so if you want to cut the install time, then click "NO" and press "NEXT". 
Windows will now prepare the installation. 
Setup will now prepare to restart the computer. 
Boot will recognize that the XP CD is in the drive, DO NOT press any keys, let setup bypass the CD boot. 
Setup will now inspect your computer hardware and configuration. 
Setup now prepares your computer for install. 
From this menu press "ENTER" to begin the install. 
Windows XP License agreement, read, and if you agree press "F8" to continue, press "ESC" if you disagree. If you disagree setup will finish. 
Your previous install will be located, press "ESC" to continue the parallel install. 
Now use the up and down arrow keys to select the partition you want to install into. Press "ENTER" once selected to continue. You can use the same partition as the previous operating system. 
Windows will now ask you to confirm the install. If you are satisfied with your decision then press "C". You can return to the previous menu by pressing "ESC". 
Now you will be asked if you wish to format the drive, select "Leave the current file system intact (no changes)" and press "ENTER" 
Windows will now warn you that the Windows directory already has an operating system, press "ESC" to select a different folder. 
You will now be asked to change the folder that Windows installs into. 
You can change this to whatever you want, in the example we used WINXP. Press enter once changes have been made to continue. 
and then setup will begin to copy files. 
Setup now initializes the Windows XP configuration. 
It is now time to restart Windows XP, press "ENTER" to speed up process, otherwise Windows will do it itself in 15 seconds. 
Boot will recognize that the XP CD is in the drive, DO NOT press any keys, let setup bypass the CD boot. 
Windows is now booting. 
The install process continues. 
Now it is time to personalize Windows. File in your name and if you wish you can also file in the Organization section. Click "NEXT" when ready. 
Now select your computer name and your admin password. Confirm the Admin password and press "NEXT". 
Date and Time settings are next, change as need be, then press "NEXT". 
Windows will then continue installing. 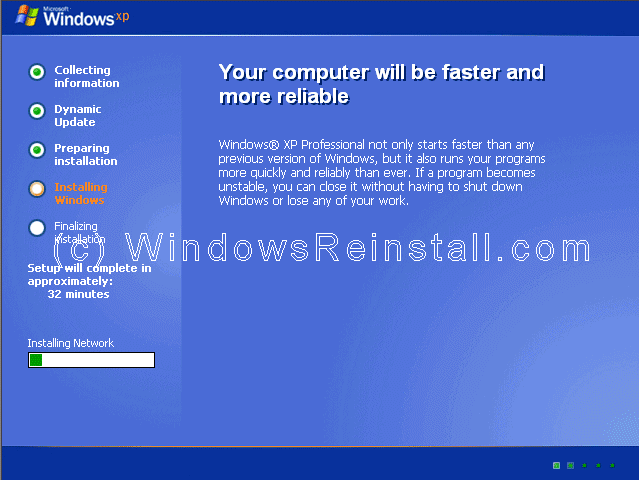
If a network card has been detected then you will get the following menu. Select "TYPICAL SETTINGS" and press next. This configured later in Windows. 
More network configuration, change workgroup name if need be and click "NEXT". 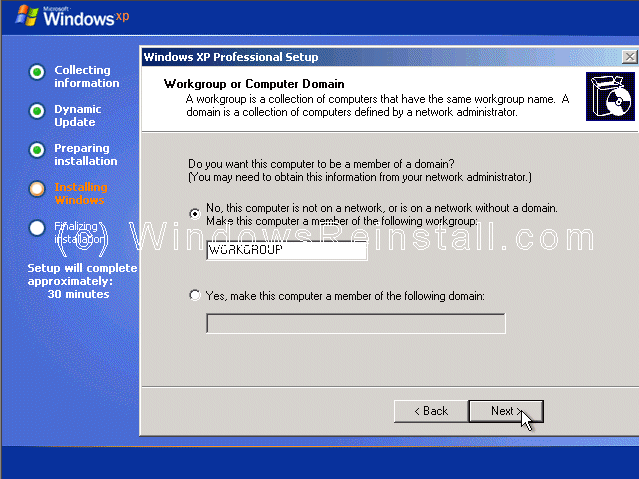
Windows will continue installing. 
Windows install will now finalize. 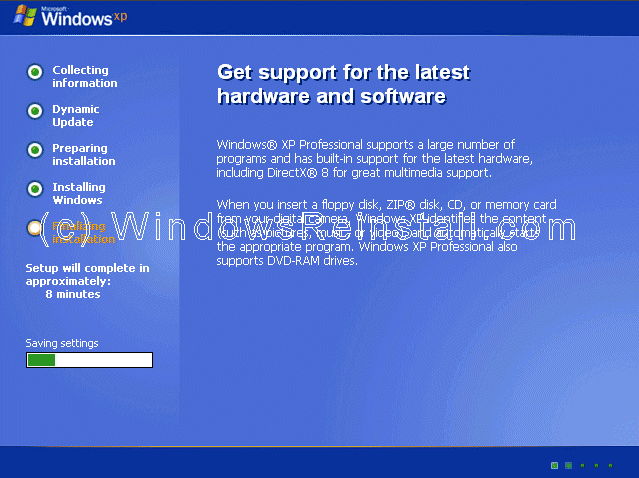
It is now time to restart Windows XP again, press "ENTER" to speed up process, otherwise Windows will do it itself in 15 seconds. 
Boot will recognize that the XP CD is in the drive, DO NOT press any keys, let setup bypass the CD boot. 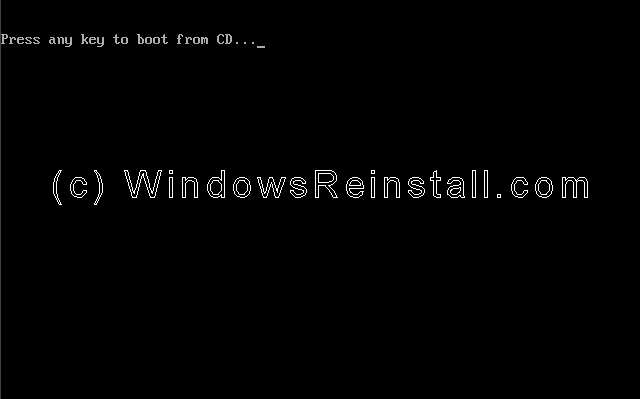
Windows will continue loading. 
Windows will now adjust your resolution, click "OK" to continue. 
If you are happy with the changes, click "OK" otherwise press "Cancel" to return to the old settings 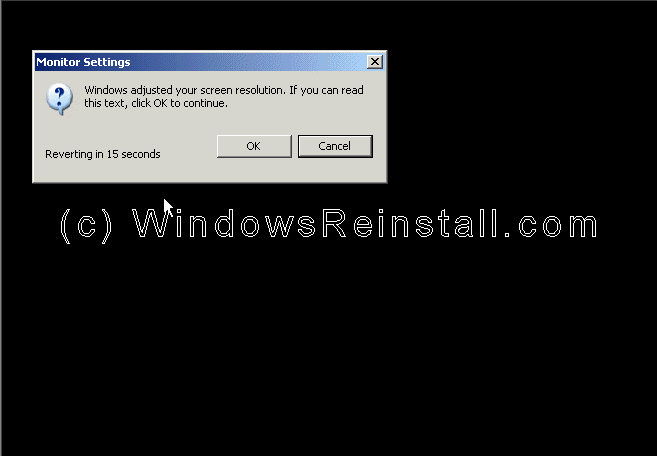
Windows will now apply changes. Be patient. 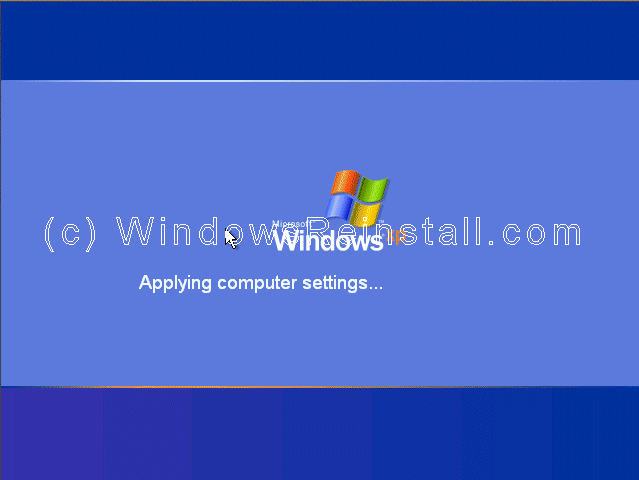
Windows "WELCOME" screen. 
and finally the Windows XP Desktop. Windows is now installed. 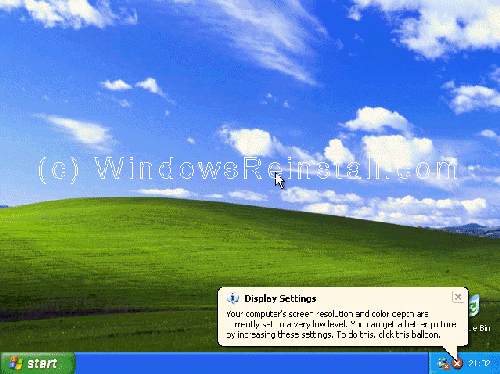
If you are lucky you will have no drivers to install, but chances are the next step will be to install them. Check out device manager for unknown devices, likely items are Network Cards, Sound Cards, Printers, Scanners, Graphics Cards, Digital Cameras, plus any other item you have.
Privacy policy - Link Exchange - links page - Contact Info By using this website you are agreeing to this Disclaimer & Legal statement (Click to view) www.windowsreinstall.com Reinstall 98, 98 install, install windows 98, win98, 98, 98 Professional, 98 SE, win98 guides, 98 parallel install, fix 98, windows 98 guide, 98 system specs, required specs, new, updates, win98 dos install
|