|
Windows XP Professional Install from MSDOS

Welcome to Microsoft's Windows XP Pro MSDOS Install step by step. This will give you an idea on how to do this when and if
the time arises for you to either reinstall the operating system, install for
the first time or upgrade your present operating system. This install guide is
fully graphical and will take you through each step of the installation.
What you will require to do this walkthrough is
-
A Windows XP Professional CD
-
A Windows 98 or ME CD
-
A Computer with CD-ROM access
-
A Windows 98 or ME Boot disk
To start this Windows install. First check that the first boot
device in your system BIOS is set to the Floppy Drive.
( To find out how to access the BIOS please refer to your
motherboard manual or the manufacturer of your Laptop. (The system bios can
usually be entered on boot, usually by pressing the F1, F2, F8, F10 or DEL key.
Make sure you save the settings before exiting))
If you are unsure or don't want to enter the BIOS then just test
the computer by putting the floppy boot disk in the drive and reboot your
computer. This is the recommended way to
install windows.
To install Windows XP in MSDOS it is best advised to install a
small program called "SMARTDRV.exe". This file can be found in many
places. For the install images we are showing you how to run it from a Windows
98 CD. You can skip this but Windows will take a long time to install.
The file can also be found in C:\Windows for Windows 98 and ME,
and also in the WIN9X folder of the Windows ME CD.
So to start the install, boot of the Windows 98 or ME boot disk.
From the boot menu select option 2. "Start computer with CD-ROM
support". 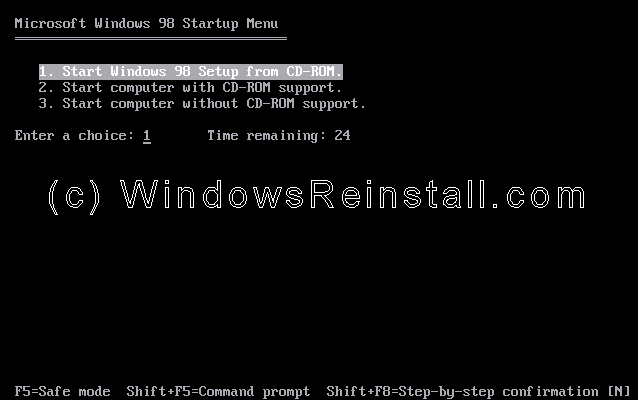
Assuming
your CD-Rom is the "D:" drive do the following. (Change D: for the
letter of your CD-Rom). Also make sure the Windows CD is in the drive. Type
"D:" and press "ENTER" Type "CD
WIN98" and press "ENTER" Type "SMARTDRV"
and press "ENTER" If you get a new blank line then
smartdrv is installed. Remember to change to the location of your smartdrv file.

Now replace the Windows 98 CD with the XP CD. Once the CD is
recognized do the following. Type "D:" and press
"ENTER" Type "CD I386" and press
"ENTER" Type "WINNT" and press
"ENTER"

Windows XP setup will now begin. Setup will ask confirmation of
the location of the setup files. Default is usually correct. Press
"ENTER" to continue.

Setup will begin.

From this menu press "ENTER" to begin the install.

Windows XP License agreement, read, and if you agree press
"F8" to continue, press "ESC" if you disagree. If you
disagree setup will finish.

Now you have to select where to install XP. Press
"ENTER" to confirm the partition you want to install into.

Now you need to format the hard drive, NTFS is recommended,
but you can also use FAT32. Make your decision using the arrow keys and press
enter.

The hard drive will now format.

and then setup will begin to copy files.

Setup now initializes the Windows XP configuration.

It is now time to restart Windows XP, press "ENTER"
to speed up process, otherwise Windows will do it itself in 15 seconds.

Boot will recognize that the XP CD is in the drive, DO NOT
press any keys, let setup bypass the CD boot.

Windows is now booting.

The install process continues.

Now your regional and language options. Your mouse should now
be active, so click on "CUSTOMIZE".

Now select your Standards and Formats, plus your location,
then click "OK".

Now click on "DETAILS".

Next select your default language, click "OK" when
done.

Now that you have made all necessary changes click on
"NEXT".

Now it is time to personalize Windows. File in your name and
if you wish you can also file in the Organization section. Click
"NEXT" when ready.

Now it is time for your product key. The product key will be
on the packaging that XP was supplied with. It is 25 digits long. Some OEM
computers will have a sticker on the side or back with your product key. Input
the key and press "NEXT".

Now select your computer name and your admin password. Confirm
the Admin password and press "NEXT".

Date and Time settings are next, change as need be, then press
"NEXT".

Windows will then continue installing.
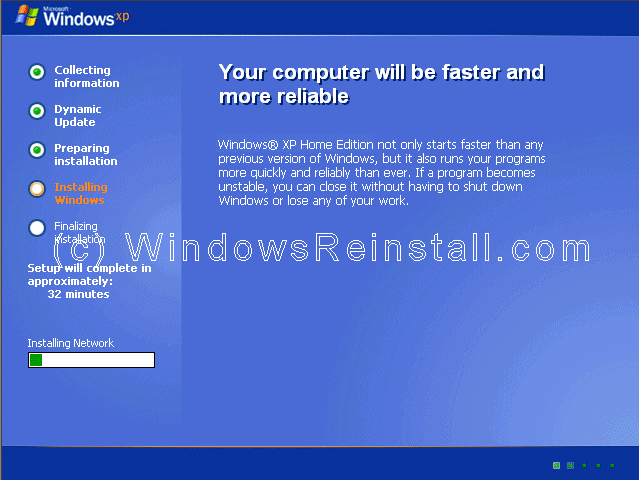
If a network card has been detected then you will get the
following menu. Select "TYPICAL SETTINGS" and press next. This
configured later in Windows.

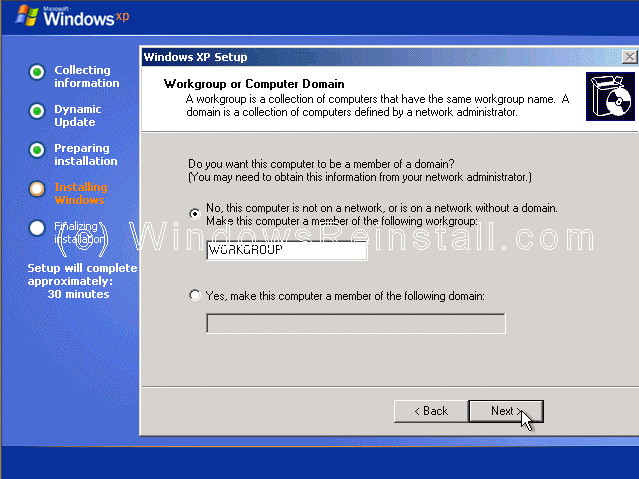
More network configuration, change workgroup name if need be
and click "NEXT".
Windows will continue installing.

Windows install will now finalize.
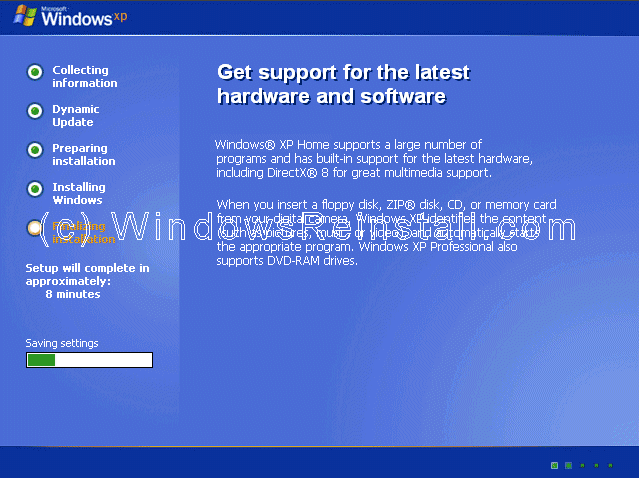
It is now time to restart Windows XP again, press
"ENTER" to speed up process, otherwise Windows will do it itself in
15 seconds.

Boot will recognize that the XP CD is in the drive, DO NOT
press any keys, let setup bypass the CD boot.
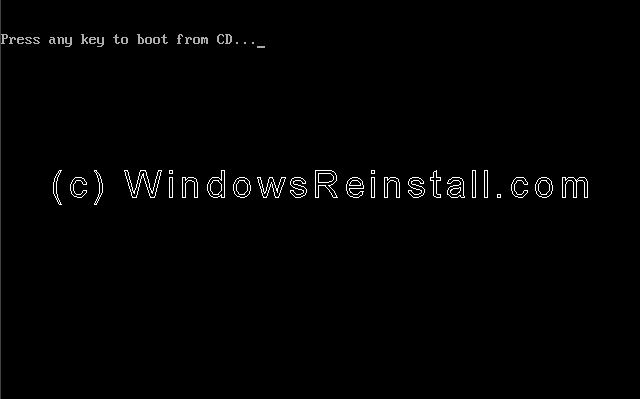
Windows will continue loading.

Windows will now adjust your resolution, click "OK"
to continue.

If you are happy with the changes, click "OK"
otherwise press "Cancel" to return to the old settings
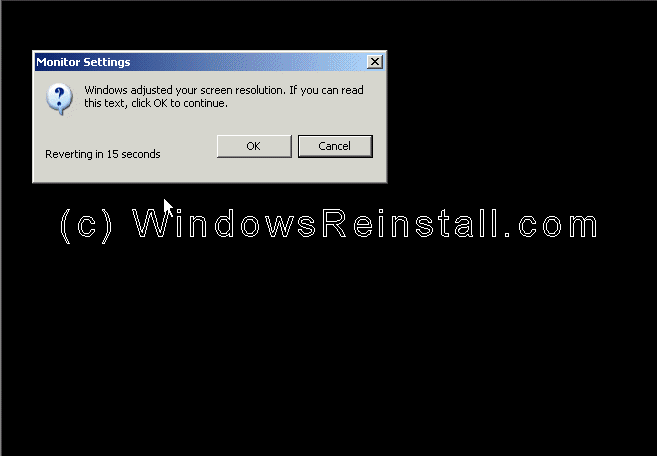
Windows will now apply changes. Be patient.
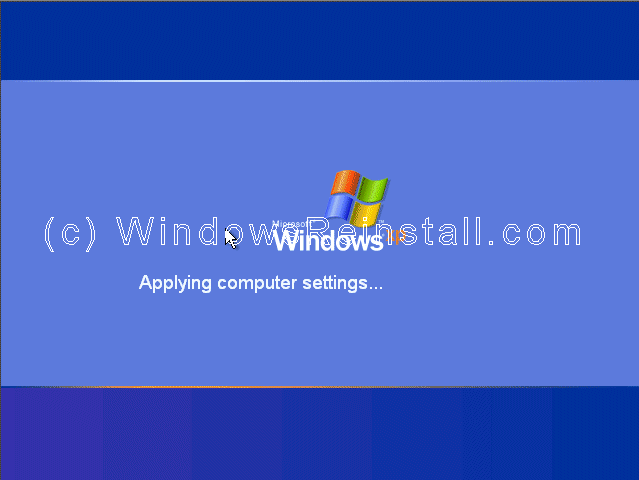
Windows "WELCOME" screen.

and finally the Windows XP Desktop. Windows is now installed.
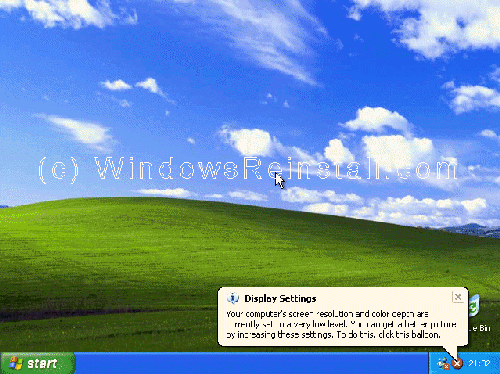
If you are lucky you will have no drivers to install, but
chances are the next step will be to install them. Check out device manager
for unknown devices, likely items are Network Cards, Sound Cards, Printers,
Scanners, Graphics Cards, Digital Cameras, plus any other item you
have.
Privacy policy - Link
Exchange - links page - Contact Info
By using
this website you are agreeing to this Disclaimer & Legal statement (Click
to view)
www.windowsreinstall.com
Reinstall 98, 98 install,
install windows 98, win98, 98, 98 home, 98 SE, win98 guides, 98 parallel
install, fix 98, windows 98 guide, 98 system specs, required specs, new,
updates, win98 dos install
|


