Windows Recovery Environment
How to Create a System Repair Disk in Windows 7 and Vista
Click here to find out how to Start the Recovery Environment (WinRE)
Note: Vista requires Service Pack 1 or above to be installed. If its not available then its best just to download and install it from here.
WinRE disks can be downloaded from here.
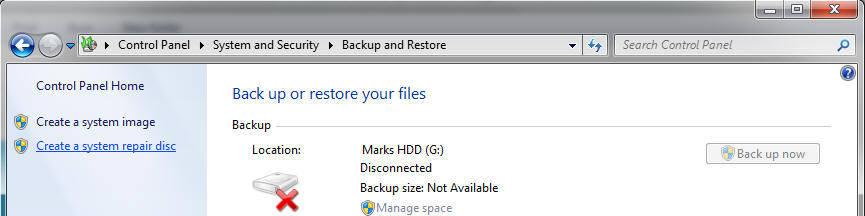
Windows 7
Click on "Start", "All Programs", "Control Panel", "System and Security", "Backup and Restore" then "Setup Backup"
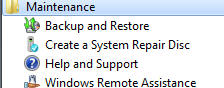
Windows Vista
Click on "Start menu", "All programs” , "Maintenance" and “Create a Recovery Disc”
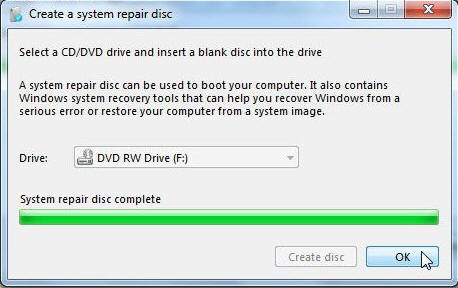
Click on "Create a System Repair Disk" (Windows 7)

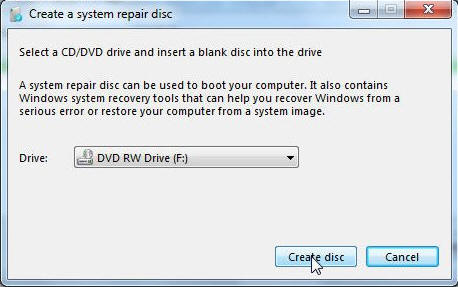
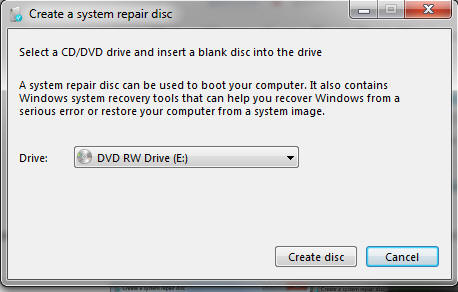
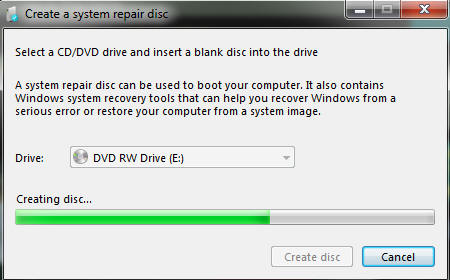
Now insert a blank disk into your CD/DVD drive, click on "Create Disk" once it is recognised by the system.
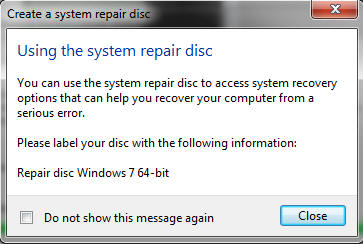
Disk is created, it is now ready to use and will have all the features of the repair environment and is a bootable disk listed below:
Return to Windows Recovery Environment (WinRE) Menu
| Tags: create recovery disk, repair disk, 7 repair disk, vista repair disk, system repair disk | ||