Welcome to Windows 2000 Professional Parallel install. This guide is step by step and fully graphical.
What you will require to do this walkthrough is:
-
A Windows 2000 Professional CD
-
A Computer with CD-ROM access
To start the install, first check that the first boot
device in your system BIOS is set to the CD-ROM Drive.
( To find out how to access the BIOS please refer to your
motherboard manual or the manufacturer of your Laptop. (The system bios can
usually be entered on boot, usually by pressing the F1, F2, F8, F10 or DEL key.
Make sure you save the settings before exiting))
If you are unsure or don't want to enter the BIOS then just test
the computer by putting the CD-ROM in the drive and reboot your computer. This is the recommended way to
install windows. If you have problems setting the
bios for CD-Rom to boot first then you can download the Windows 2000 boot disks
from here
http://www.probz.com/index.php?autocom=downloads&showfile=11
Now insert the Windows 2000 Professional CD and reboot your computer.
The first menu will now appear, it will say "Press any key to boot
from CD...." at this point press the space bar on the computer.

Windows will start to install.
This may take some time as Windows copies file in preparation to
install. 
Now
press "ENTER" to start the Install. 
Now
the user Agreement, read and Press "F8" to continue, if you
disagree press "ESC", setup will then exit. 
Windows
will now detect that there is a previous install. Take note of the path
as you do not want to use the same one, as this will delete the previous
install. Click "ESC" to continue 
Now
select the drive you wish to install into, preferably select a partition
different to the one with the original install, but if you have other
option just select the same drive. 
Windows
will warn you that there is a previous install on this drive, press
"C" to continue. 
It
is important that you do not format the harddrive so select "Leave
the current file system intact" and press "ENTER" to
continue. 
As
I said previously it is important not to install in the same folder. So
at this screen press "ESC" for a different folder. 
Now
you have the option to change the name, the default is "WINNT"
we will change it to "WINNT2". 
As
shown here. Press "ENTER" to continue. 
Setup
will now examine the Drives.... 
and
then copy files to the installation folder. 
Next
setup will initialise the Windows 2000 configuration. 
Once
down setup will be required to reboot, make sure you have to floppies in
the drives, and press "ENTER" to speed things up. 
Due
to the Windows 2000 CD being in drive, the following message will appear
"Press any key to boot from CD", do not press anything, just
wait for the message to pass. 
Windows
install will start again. 
Be
patient..... 
Sometimes
it is best not watching..... 
Now
the setup wizard. (Mouse is now active) Press "NEXT" to
continue..... 
and
now you get to wait again, be patient the "Installing Devices"
part of the install can take forever. 
Now
regional setup, click on the top customize. 
Change
your Locale under General. 
Add
your Input Locale under "INPUT LOCALES" (Unless the one
present is correct) 
Delete
the "Input Locale" you no longer want and click OK to continue
and then "NEXT" once happy with settings. Don't worry though
as all these settings can be configured in the Control Panel once in
Windows. 
Now
input your Name and Organization. It is advisable to use a name that was
not previously used before, as this could overwrite your previous
operating system user account. 
As
we have done below, then click "NEXT" to continue. 
Now
input your Product Key, this is 25 characters long and can be found in
the Windows 2000 packaging or on the side or back of your machine. Click
next to continue. If you get any errors then double check what you have
inputted and make sure you have used the correct letters and numbers. 
Now
set you computer name (How it will be Identified on the network), and
also set the administrator password, you will need to confirm this.
Click "NEXT" to continue. 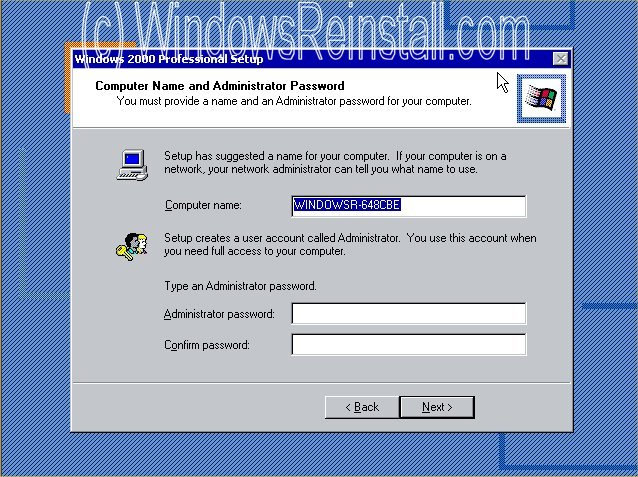
Next
select your Time Zone to the area you are in. Then click
"NEXT" to continue. 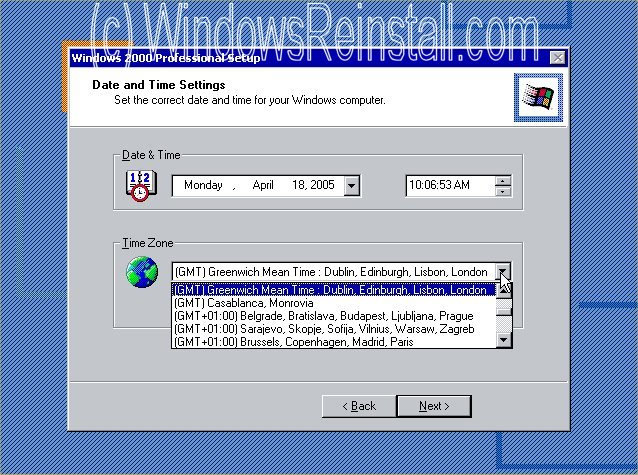
The
Network will now install. 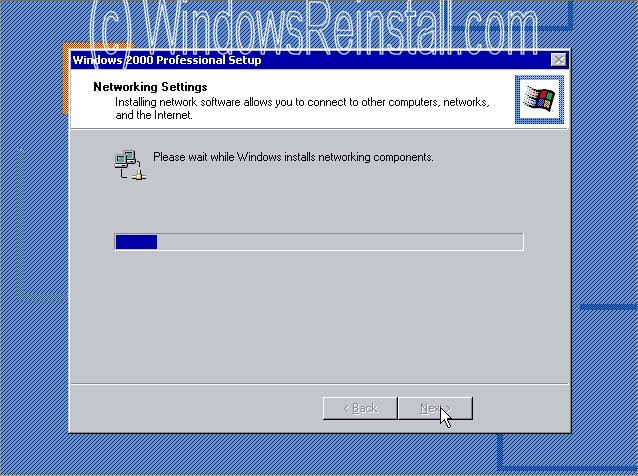
For
Network settings, leave at typical and click next, these can be
configured at a later date. Click "NEXT" to continue. 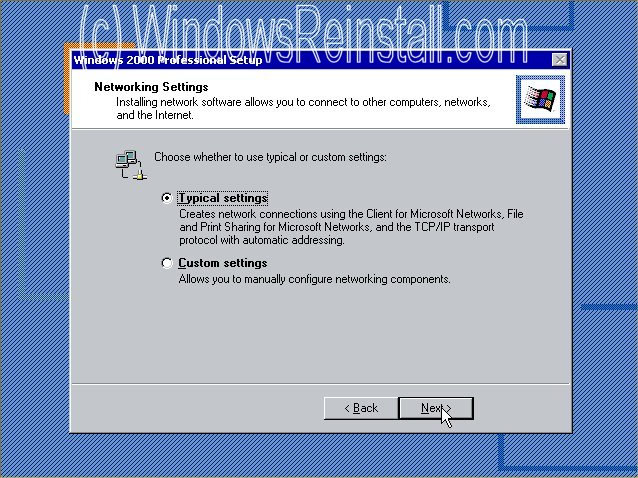
If
your computer is on a network than click on "YES...." and
input the workgroup name, otherwise leave at "NO..." and click
"NEXT" 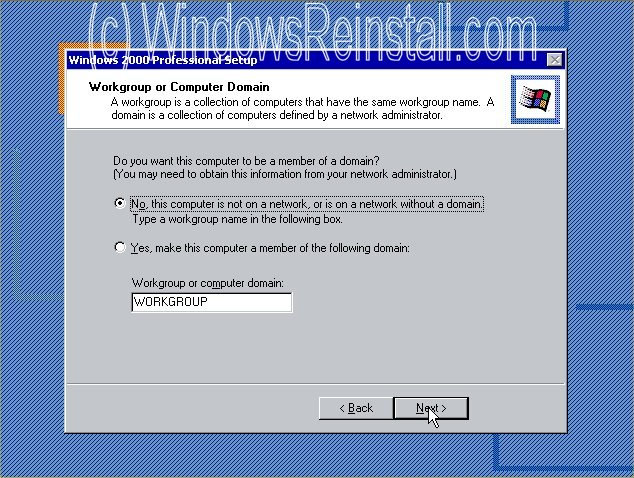
More
components will now install. 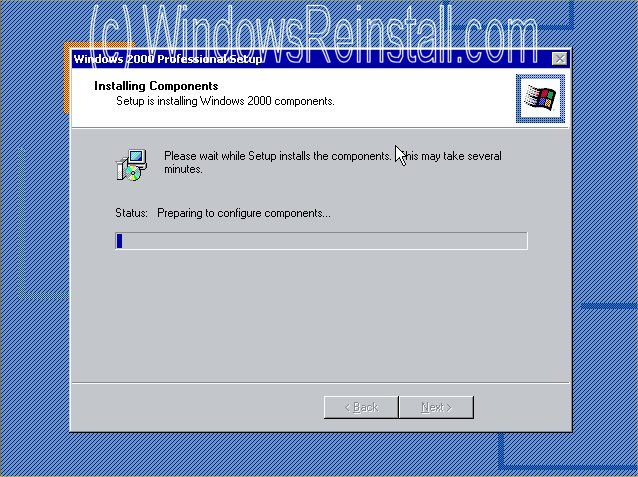
Next
the Start menu, registry components.... 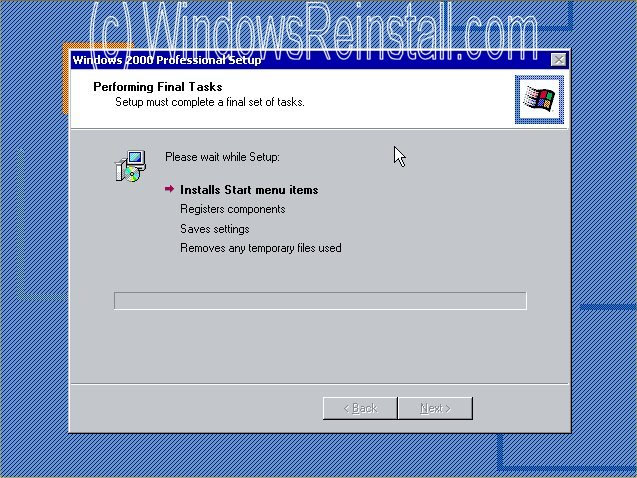
System
will save settings and remove temp files.... 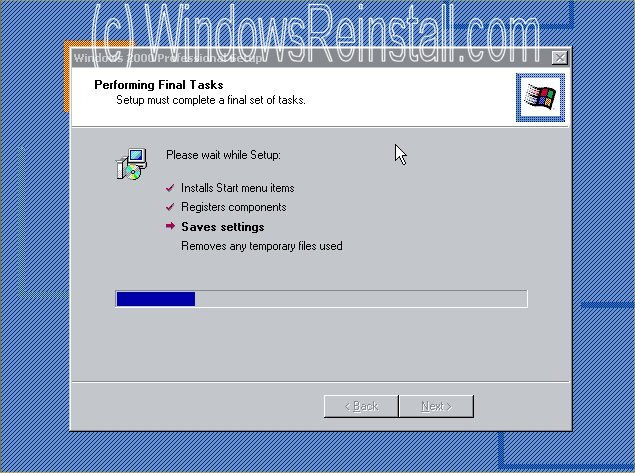
and
finally click on "FINISH" to complete the Windows 2000
install. 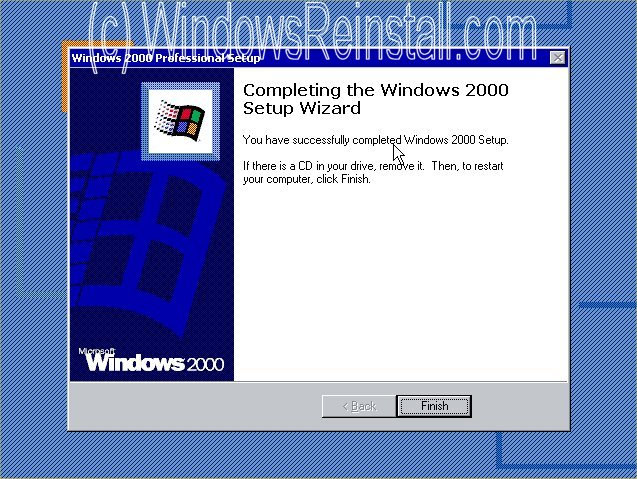
Windows
will now continue to load.... 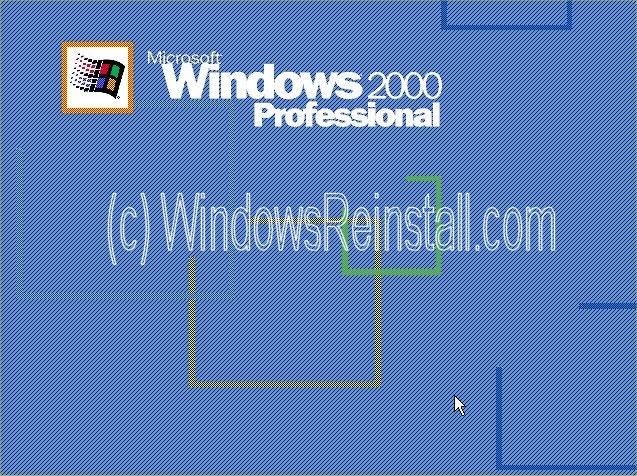
and
then reboot your computer for first boot. Due
to the Windows 2000 CD being in drive, the following message will appear
"Press any key to boot from CD", do not press anything, just
wait for the message to pass. 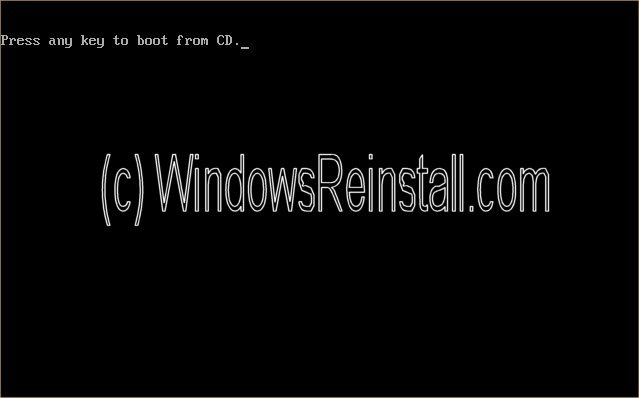
Windows
will continue to load for first time...... 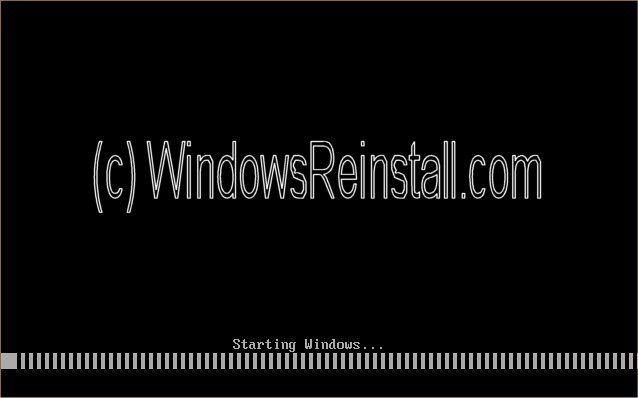
The
Windows 2000 splash screen. 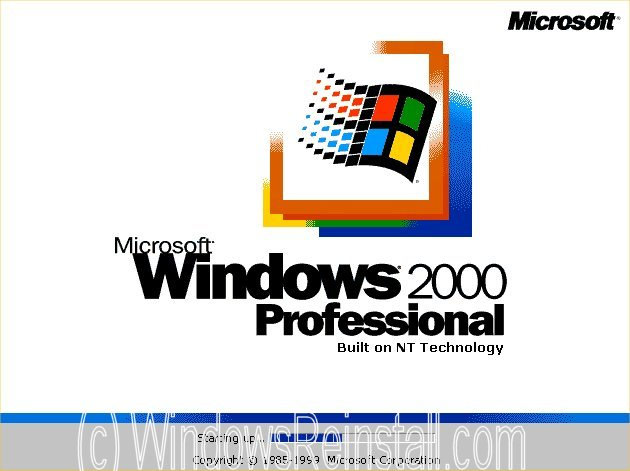
Now
it begins starting. 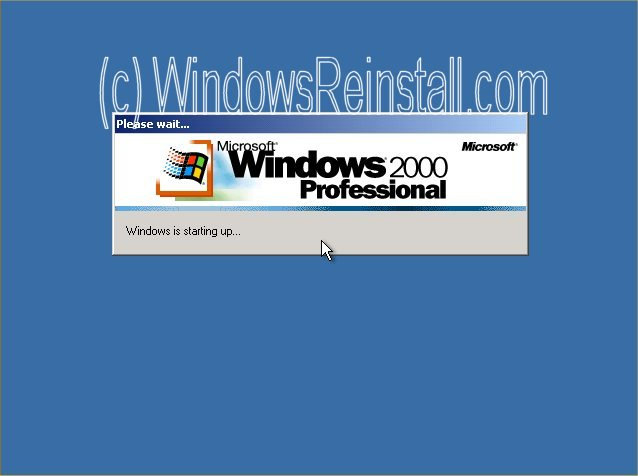
Now
the Network ID wizard will appear. Click "NEXT" to continue. 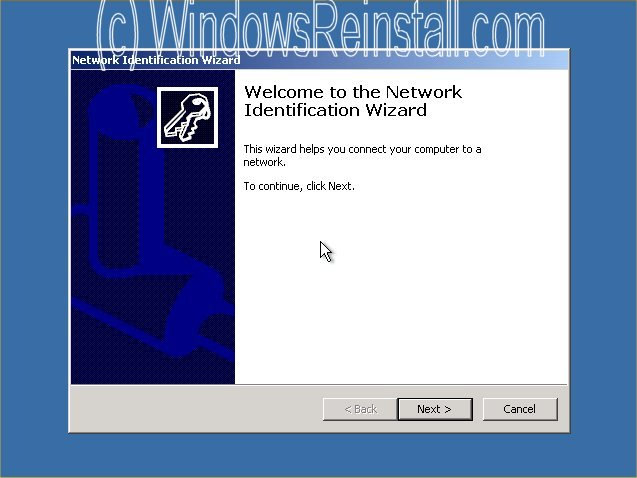
If
you are using this computer on you own use "Windows always assume
the following user...." option, This will create an account in the
name you set previously in Personalize your computer. Set a password if
need be. If you have multiple users then select
"Users must enter a user name and password...", this means you
will have to log in as Administrator, then set up the user accounts from
the Control Panel from within windows. Click
"NEXT" when finished. 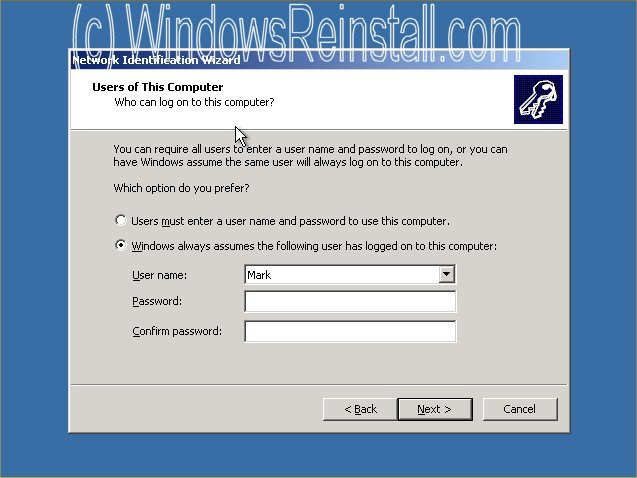
Now
complete the Network setup by clicking "FINISH". 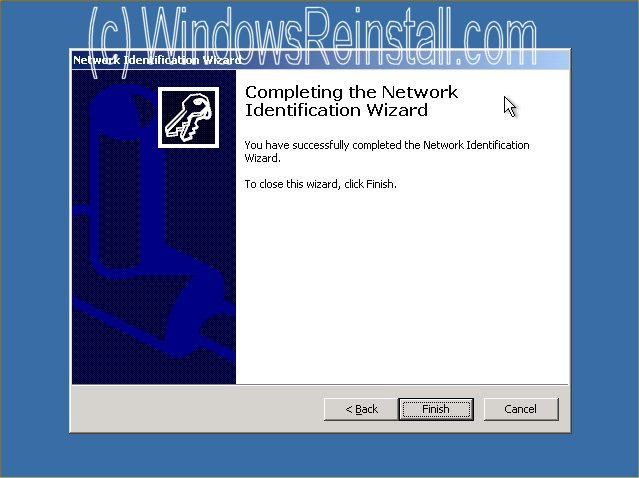
Now
the logon screen, this will vary depending on how you set the login, and
if you set a password or not, you may need to use "CTRL ALT
DEL" for the login as Administrator, if you didn't set a password
then the system will login automatically as long as the "Windows
always assumes...." option was selected. This screen
shot is the "Windows always assume the following user...."
option 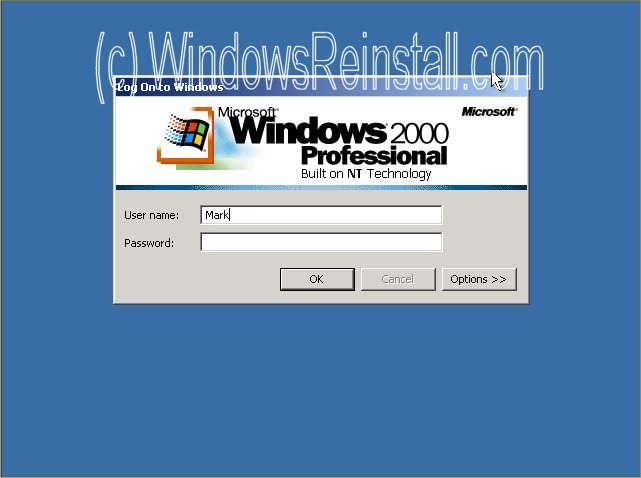
This
screen shot is the "Users must enter a user name and
password..." option 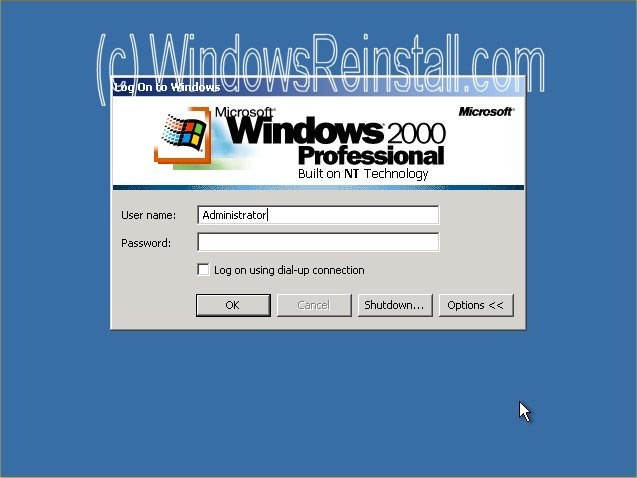
Once
you have logged in you will arrive at the desktop, it is time to install
drivers, setup network/internet, install service packs, setup user accounts,
backup previous install, repair previous install etc etc. 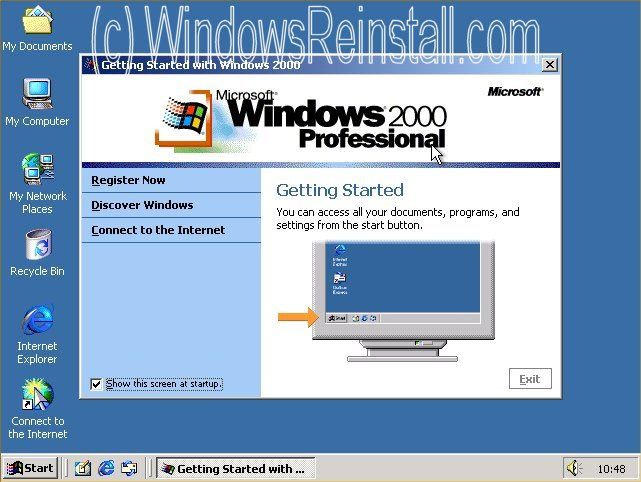
Privacy policy -
Link
Exchange - links page -
Contact Info
By using
this website you are agreeing to this Disclaimer & Legal statement (Click
to view)
www.windowsreinstall.com
|
