Welcome to Microsoft's Windows 2000 Professional Manual Repair with
no ERD
disk. This guide is step by step and fully graphical.
What you will require to do this walkthrough is:
-
A Windows 2000 Professional CD
-
A Computer with CD-ROM access
-
Your Emergency Repair Disk
To start this Repair. First check that the first boot
device in your system BIOS is set to the CD-ROM Drive.
( To find out how to access the BIOS please refer to your
motherboard manual or the manufacturer of your Laptop. (The system bios can
usually be entered on boot, usually by pressing the F1, F2, F8, F10 or DEL key.
Make sure you save the settings before exiting))
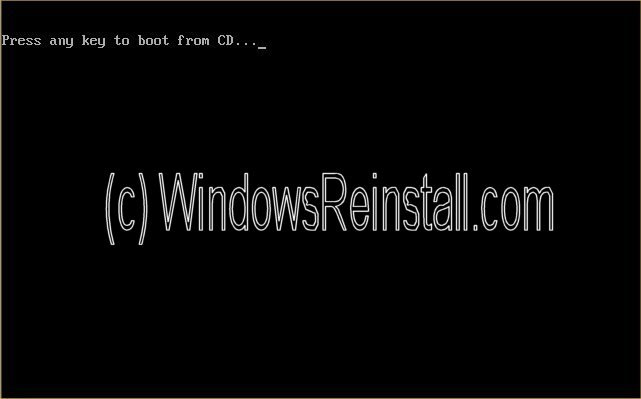
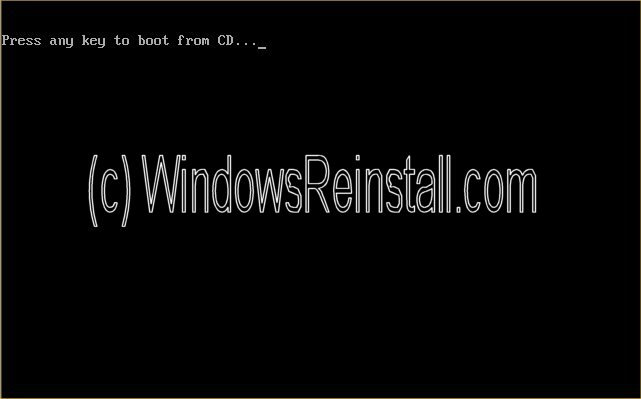
If you are unsure or don't want to enter the BIOS then just test
the computer by putting the CD-ROM in the drive and reboot your computer. This is the recommended way to
install windows.
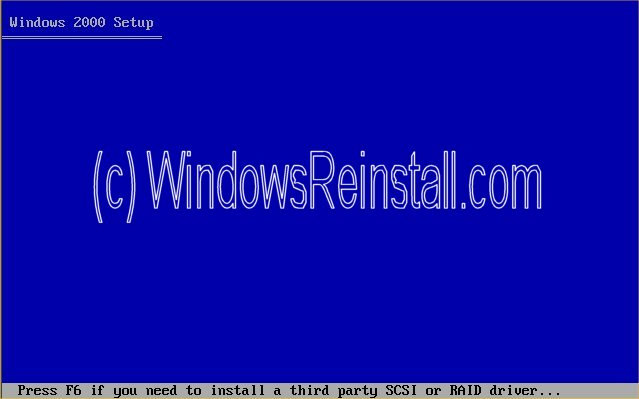
Now the
Windows 2000 setup will begin (This is needed for the repair process)
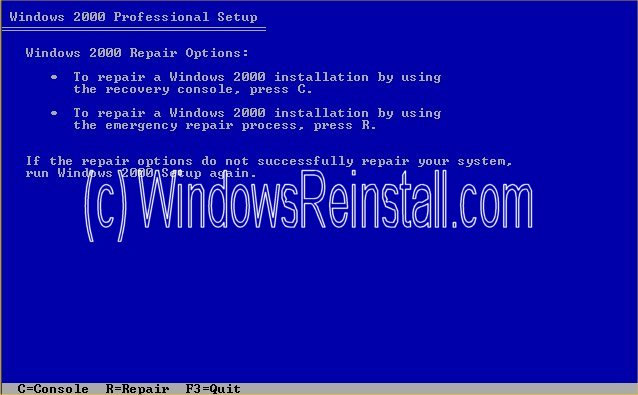
Now
the Windows 2000 Pro setup menu. Press "R" to continue.

Now
the repair options will appear, press "R" again.
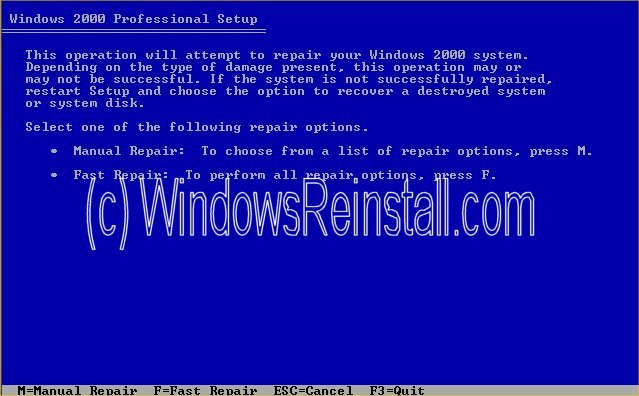
Now
select "M" for Manual repair.
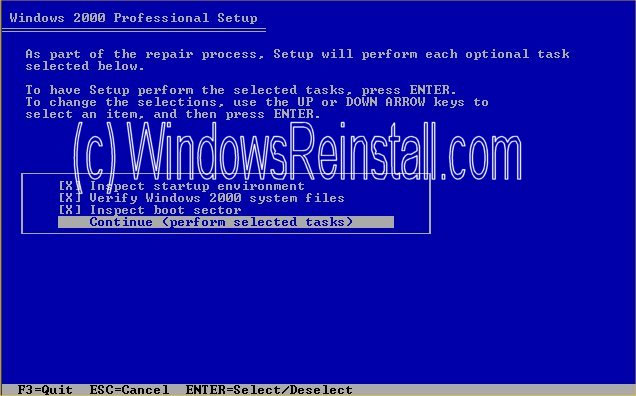
Now
select what you wish Windows to repair using the "UP" and
"DOWN" arrow keys and the "ENTER" key to select and
deselect. Once you are happy with selection, highlight
"CONTINUE" and press "ENTER".
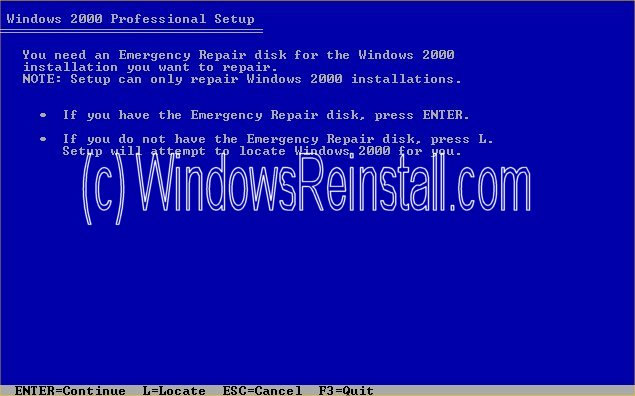
As
you have no "ERD" disk, press "L" to allow windows to
install.
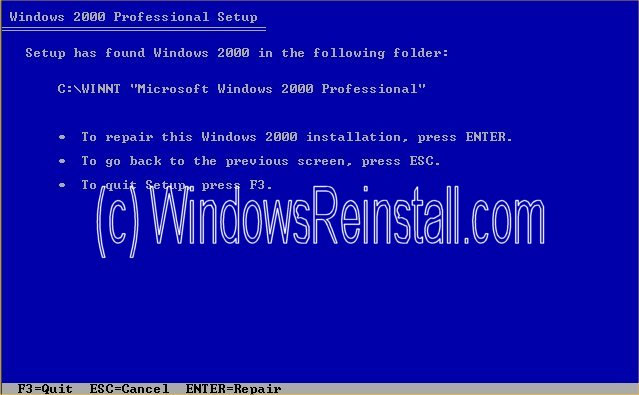
Windows
will detect the installation needing repaired, press "ENTER" again
to continue.
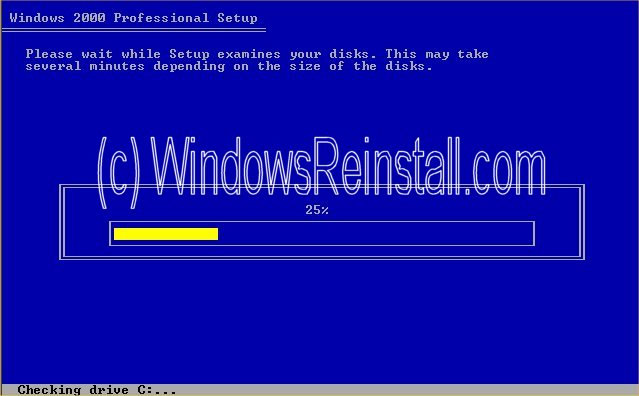
Setup
will now examine your system, and perform all repairs.
Once
finished you will have to reboot.
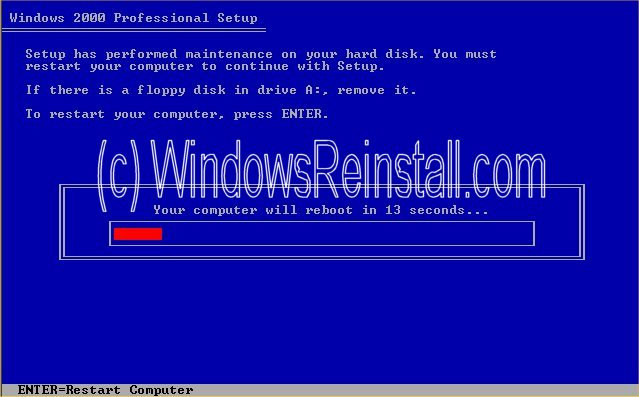
You
will get the following message if you left the Windows 2000 CD in the drive.
Do nothing, as it will go away in a few seconds.
Windows
will begin to load...
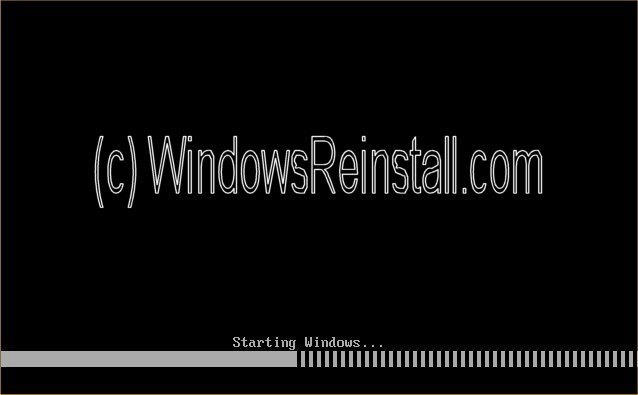
and
load....
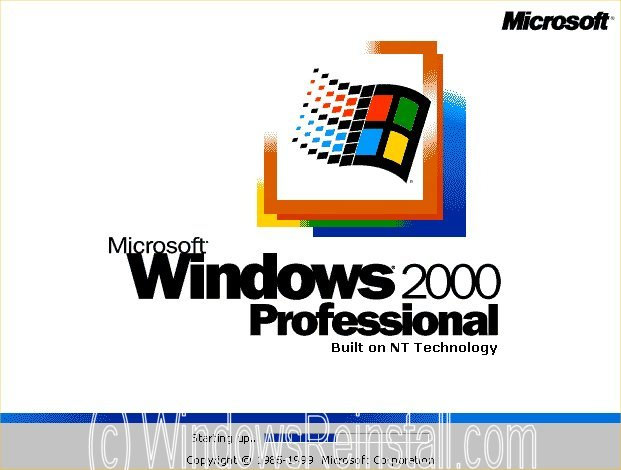
and
load....
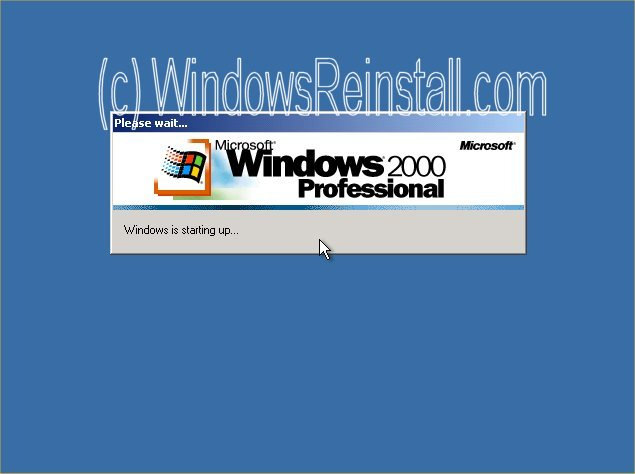
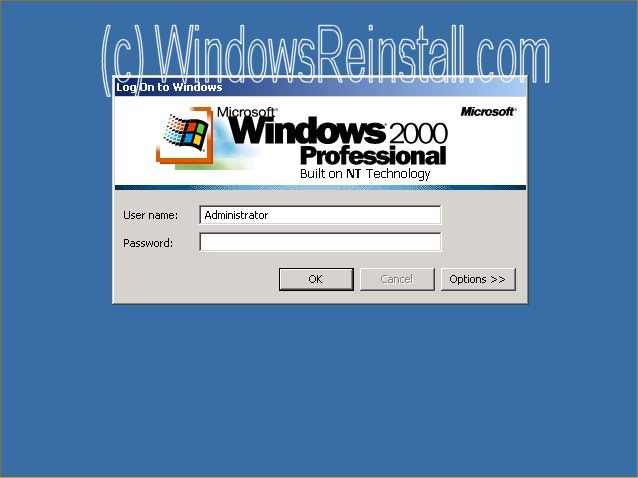
and
with any luck you will get the login screen. Input your username and password
and click "OK"
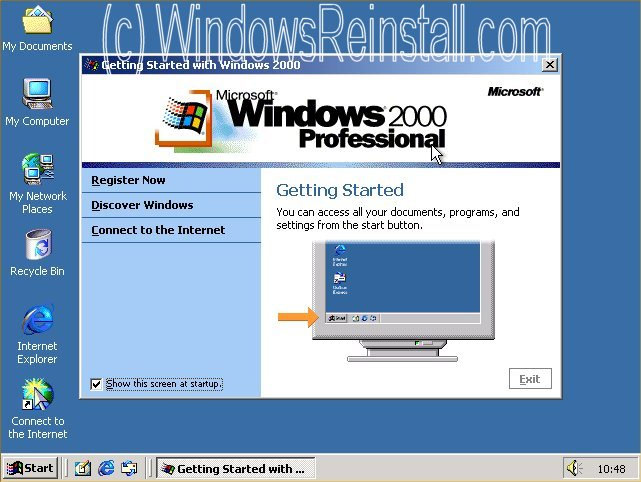
Next
you should see the desktop.
THE
END