"Setup did not find any hard disk drives installed in your computer" Welcome to Microsoft's Windows 7 Professional "Setup did not find hard drive" install step by step, this guide is to help you through a windows install when you can't find the hard drive, or I doesn't seem to be available .
This install guide is fully graphical and will take you through each step of the installation. You will usually not get an error message, just no where to install Windows (See image below) Note: you may see card readers, external storage media, etc etc here, remember you need the hard drive as it has faster access times and usually more available space 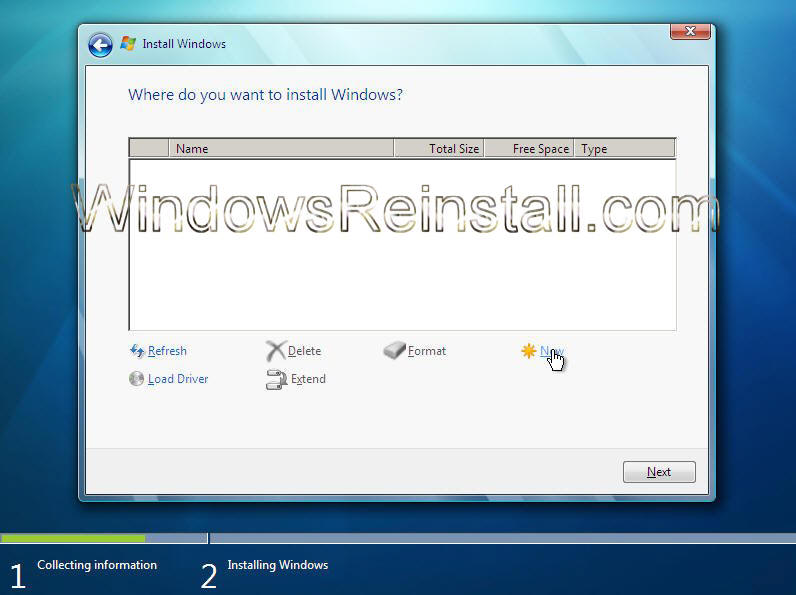
What you will require to do this walkthrough is Your Windows 7 Professional DVD or CD's Windows 7 COA, or serial number. Your computer Plugged into Mains Power Electric supply running to your house. A Computer, with the usual accessories (Mouse, monitor, keyboard etc) CD-ROM/DVD Drive.
To start this Windows install. First check that the first boot device in your system BIOS is set to the DVD-ROM Drive. ( To find out how to access the BIOS please refer to your motherboard manual or the manufacturer of your Computer. (The system bios can usually be entered on boot, usually by pressing the F1, F2, F8, F10 or DEL key. Make sure you save the settings before exiting)) If you are unsure or don't want to enter the BIOS then just test the computer by putting the DVD-ROM in the drive and reboot your computer. This is the recommended way to install windows.
The first thing you will have to do is find out the manufacturer of your motherboard, and also the type of drive you are using. SATA (Serial ATA) Hard Drive
SATA Connectors on hard drive | SATA data cable |  | 
|
IDE Cable
| IDE (PATA) Connectors on Hard Drive | IDE (PATA) data cable |  |  |
Once you have determined the type of hard drive you have go to the motherboard/computer manufacturers website and download the SATA or PATA drivers for that board. Make sure if the files are compressed that you extract them to your floppy disks or external storage device. To begin install insert your Windows 7 Professional DVD and reboot you computer. You may get prompted to press a key to boot of DVD. Click any key on keyboard to boot.
To start this Windows install insert the DVD/CD from the desktop. The DVD/CD Should run on reboot of your PC. If not then make sure the drive is set to first boot in the BIOS, see this Windows 7 BIOS guide for more info.
Special Notes: Problems installing Windows, or after installing then try upgrading your BIOS to the latest version (BIOS upgrade can be obtained from the PC manufacturer or motherboard manufacturer.) Also download the latest SATA/RAID Drivers, as older ones may not work. Check your system is within the minimal hardware requirements as laid down by Microsoft. Click here A common piece of hardware to cause install errors is "Memory", your install DVD has "Memory diagnostics", run this from the "7" disk to rule it out or replace as needed.
|
|
Your Computer will post (These screens will vary from manufacturer images to the text shown below). 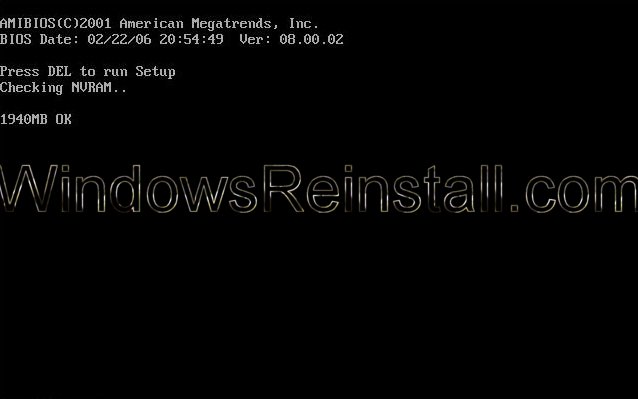
After Windows passes the initial Post screens, Windows 7 will begin to load as the hard drive is Blank, this may take sometime. 
Windows 7 will now start the install procedure. 
First you need to select your language, then Time and currency... 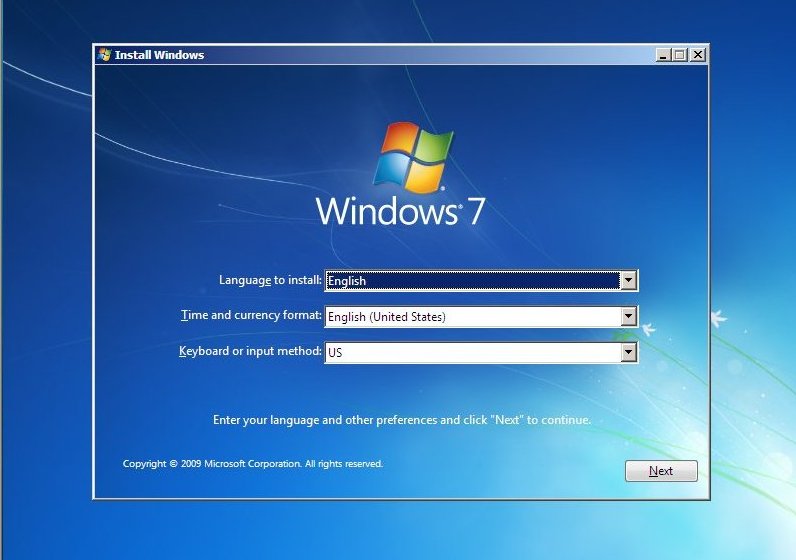
Next set your Keyboard Language. This may have changed correctly when "Time and Currency" option was selected, if not change as needed. Click "Next£ to continue. 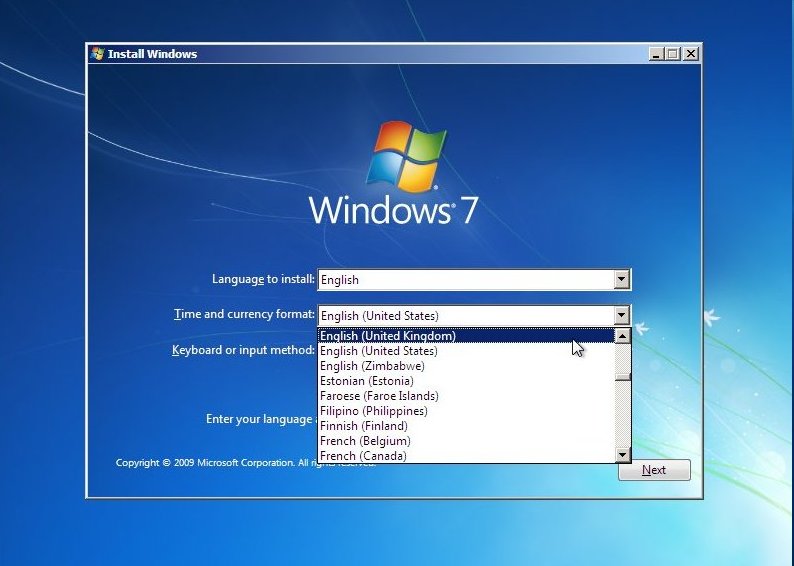
Your Keyboard input method will change to the most common used under the "Time and currency" selected, you can change this now if need be. 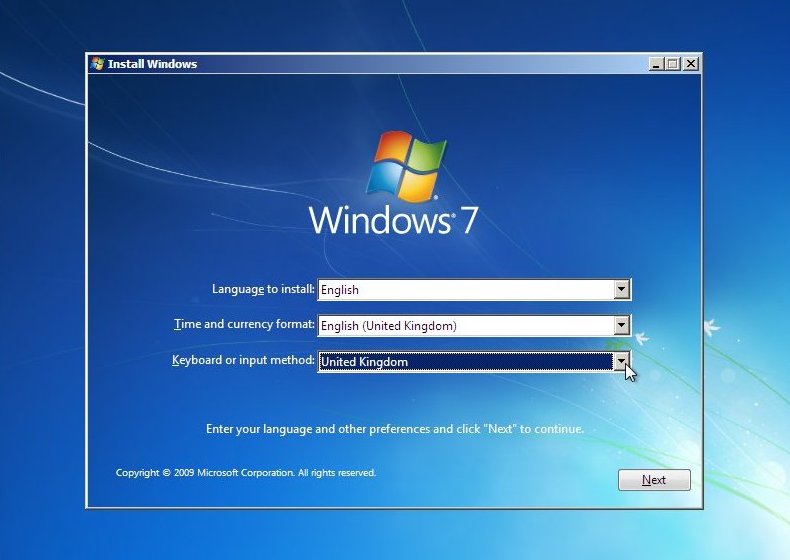
Once happy with your selection click on "Next" to continue 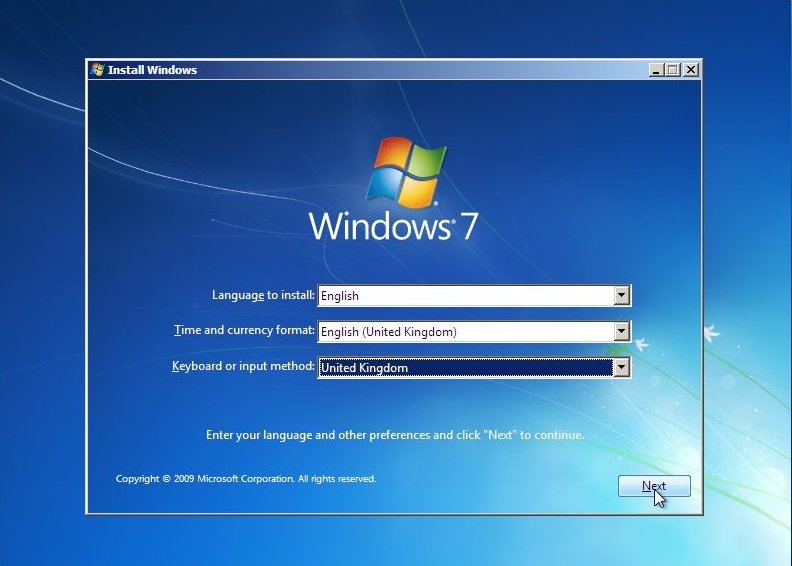
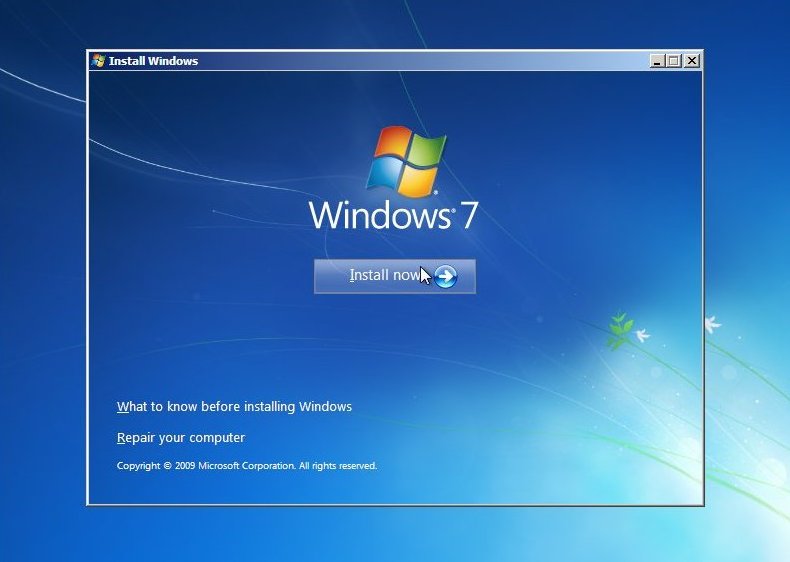
Now the "Install Windows 7" screen will appear, Click on "Install now" to continue. NOTE: The Repair options on this page are covered in other guides available in the Windows 7 section of www.windowsreinstall.com
Setup will begin... 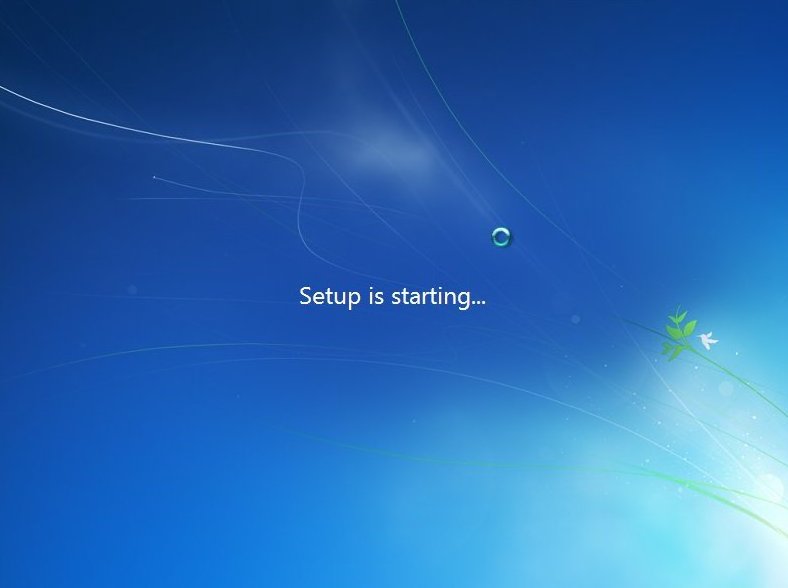
This is were "Part1" of the install officially starts.. You will now see the bar pictured below at the bottom of the screen. It has no relevance to "Time" in general. It moves fast sometimes, slow other times, If you insist on watching it then don't be worried if it stays in any particular spot for long periods of time. 
Now the "License agreement"..... 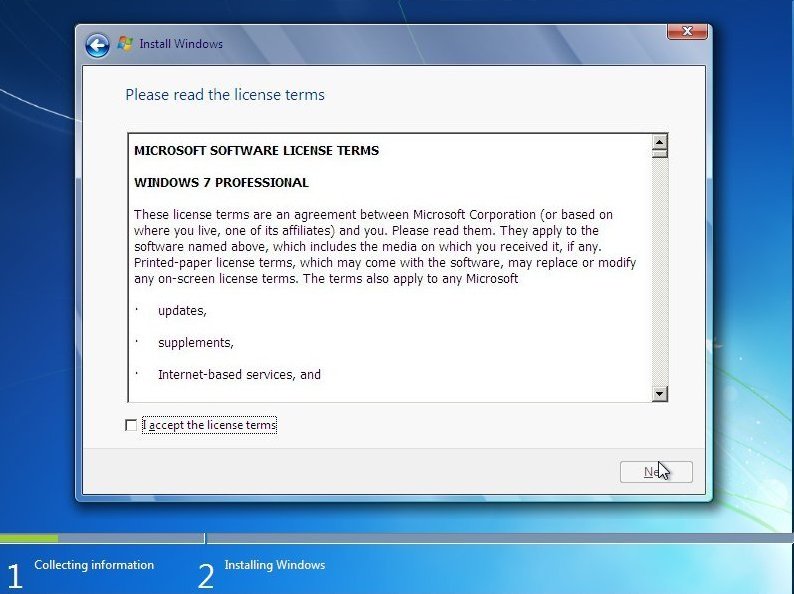
....read them click on "I accept the License terms", then click "Next" to continue. If you don't agree then this is as far as you can go :( 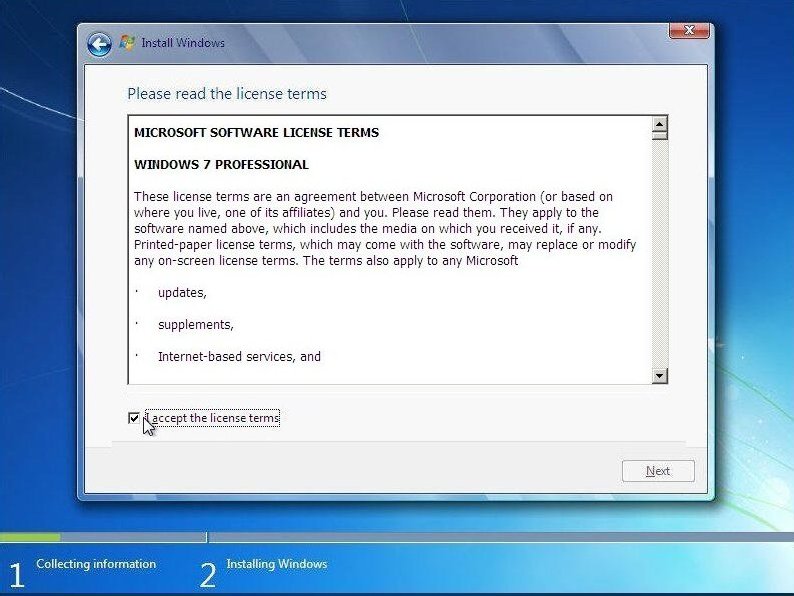
Now the "Type of installation". Click on "Custom (Advanced) to continue.. 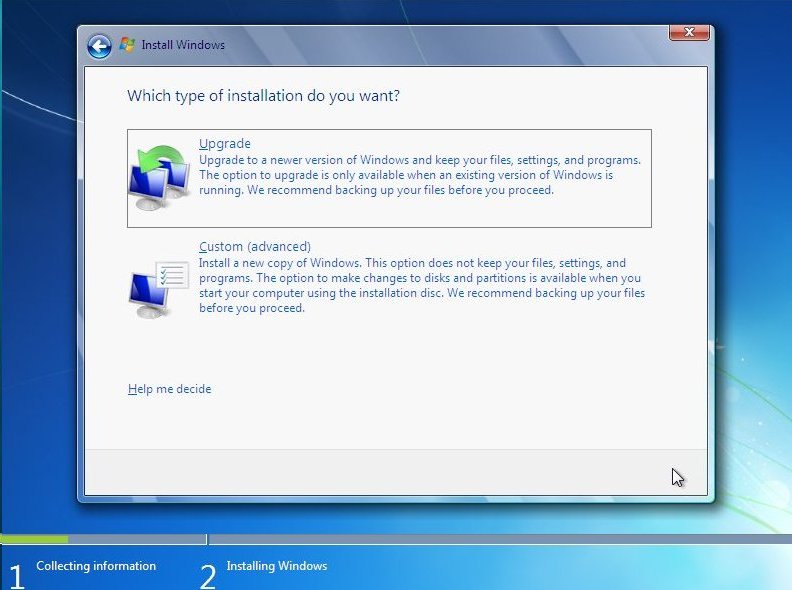
Load Driver Options Menu: Next you will select the location of the install. The hard drive is not seen due to Windows 7 not having the driver. This driver should be supplied with your motherboard, if not it will be available for download from the motherboards manufacturer. This file will then needed extracted and copied a Floppy, CD or USB storage device. To continue click on "Load Driver" Load Driver Options Menu: Now insert the media that stores the drivers for the device and click OK 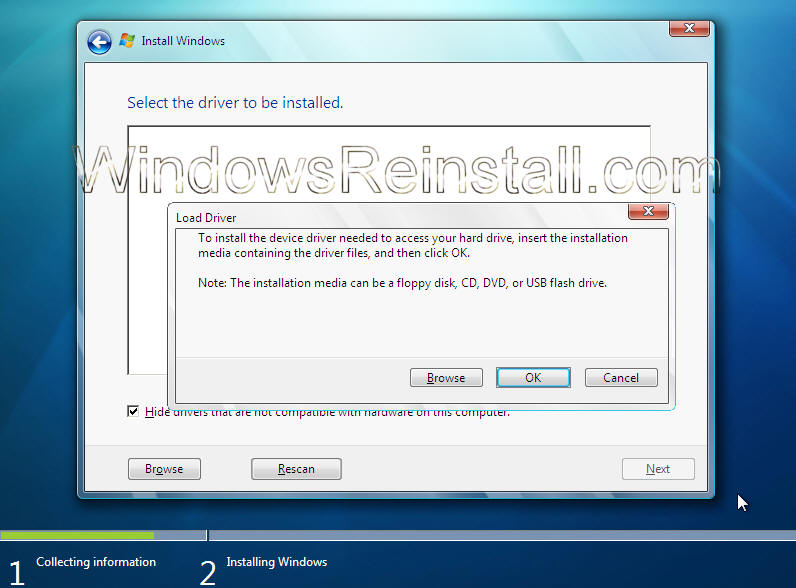
Load Driver Options Menu: Windows will search for it on all available devices. 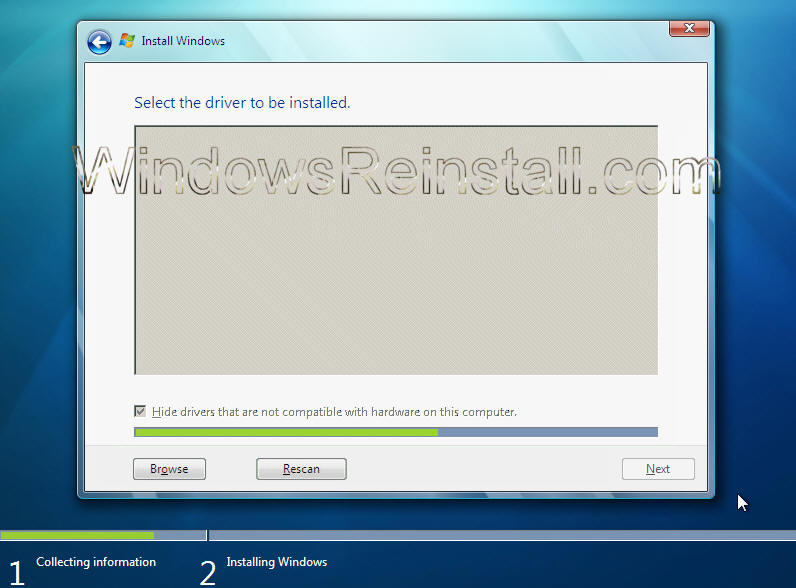
Load Driver Options Menu: A list of available drivers will appear, select the one that matches your motherboard or hard drive. Click "NEXT" to continue. 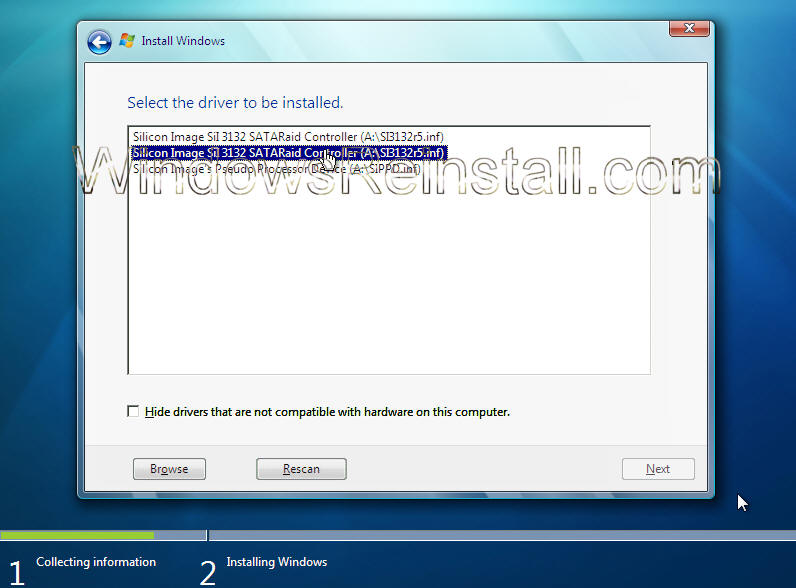
Load Driver Options Menu: With the correct driver loaded your drive should now be seen. Hard drive setup comes next. Click next for "Automatic Harddrive setup using full capacity", otherwise click on "Drive Options" to configure the drive yourself.
Drive Options Menu: Now click on "New" 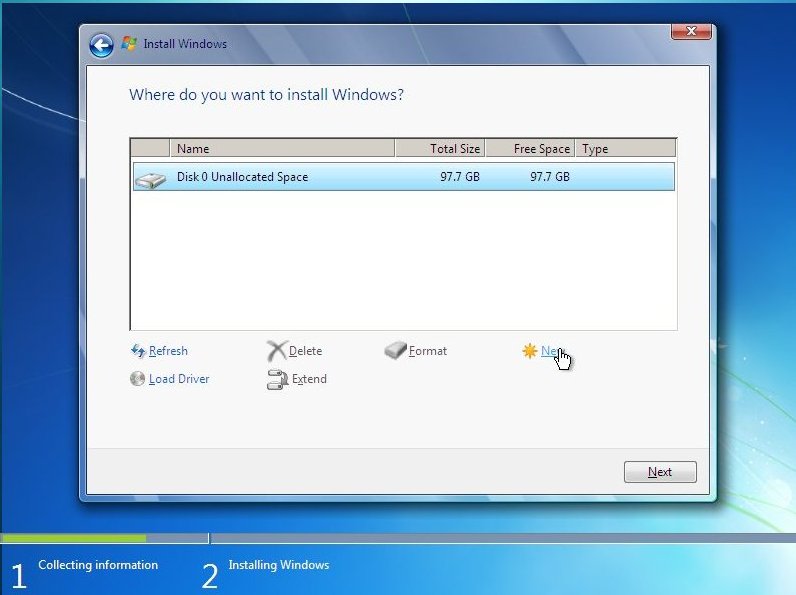
Drive Options Menu: Select the size you want the partition to be (Or manually type it in, in the box). Then click "Apply" to continue. NOTE: Remember Windows 7 needs 16GB of space to operate in. 
and that completes the "Missing hard drive" install guide, every guide for Windows 7 Professional has a NOHDD (No Hard Drive) guide, so follow these for further help.
Amazon.co.uk and Amazon.com         
All versions of Vista are available in our astore's at: Amazon.co.uk and Amazon.com 
|