Windows 7 clean install guide

Windows 7 Install Guides

Microsoft's Windows 7 Enterprise Upgrade Install Guide step by step without updates

INTRODUCTION

Welcome to Microsoft's Windows 7 Enterprise Upgrade Install Guide step by step without updates. This guide is step by step and should be used when upgrading Windows from a lower version of Win7 or from Windows Vista with service pack 1 (or higher) installed.

This is an upgrade install of windows and should be trouble free of errors (If you pass compatibility tests) and problems (If lady luck shines favourably on you) as long as your system fits the minimum specs as laid down by Microsoft and does not have an incompatibility, software or hardware fault that may effect the process.

It is recommended though to have a full backup of anything you do not want to loose before beginning the process as the risk of data loss is high. You have been warned !!!!

Click here for this guide with full size images (May take sometime to load)

Click here for this guide with updates and with full size images (May take sometime to load)

Click here for this guide with updates and with thumbnail images (Fast loader)


Special Notes:

  • Problems installing Windows, or after installing then try upgrading your BIOS to the latest version (BIOS upgrade can be obtained from the PC manufacturer or motherboard manufacturer.)

  • If your hard drive is not seen during the install then you will require SATA/RAID drivers from the PC manufacturer or motherboard manufacturer. See our other guides for "No Hard Drive" installs.

  • Also for missing "New" hard drives make sure they are seen in the BIOS and are fitted correctly.

  • Remember you cannot upgrade from XP.


  1. Your Windows 7 Enterprise DVD or CD's

  2. Windows 7 COA, or serial number.

  3. Your computer Plugged into Mains Power

  4. Electric supply running to your house.

  5. A Computer, with the usual accessories (Mouse, monitor, keyboard etc)

  6. CD-ROM/DVD Drive.

To start this Windows install insert the DVD/CD from the desktop. If nothing happens, double click on "My Computer" icon then the DVD drive and finally the "Setup.exe" file.

You can also try pressing "Windows key" plus "R" and typing "DVD drive letter, forward slash, setup.exe, then click on OK  ( D:/setup.exe or E:/setup.exe ).

If this fails then make sure:

  1. Your drive is a DVD drive (When using Windows 7 DVD)

  2. The drive is closed correctly

  3. DVD is not upside down

  4. The drive works with other DVD's


Special Notes:

  • Check out our upgrade compatibilty, information , help, tools and errors here: 7 Upgrade help here

  • Also download the latest SATA/RAID Drivers, as older ones may not work.

  • Check your system is within the minimal hardware requirements as laid down by Microsoft. Click here

  • A common piece of hardware to cause install errors is "Memory", your install DVD has "Memory diagnostics", run this from the "7" disk to rule it out or replace as needed.

  • Make sure you have at least 13GB free on the drive with the present operating system that you wish to upgrade free


PRE-INSTALL

The following menu should appear, click on "Install Now", of course if you have compatibility worries or just want to be careful the click on appropriate link to check your status online (requires a download).

PART 1

This is were "Part1" of the install officially starts.. You will now see the bar pictured below at the bottom of the screen. It has no relevance to "Time" in general. It moves fast sometimes, slow other times, If you insist on watching it then don't be worried if it stays in any particular spot for long periods of time.

First your Licence agreement, read through it and if you agree click on "I Accept the Licence agreement" box and then click "Next" to continue. If you do not agree then the install halts.


Now click on "Do not get the latest updates for installation"

Now you will be asked were you wish Windows to Install, select the drive Vista (Or earlier version of 7) resides, usually "C" drive, as in our selection, Click on this drive (Disk Partition 2:ACER (C:) in our example), click next to continue.


END OF PART 1


PART 2

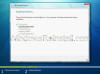
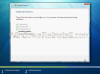
Windows will now begin copying files

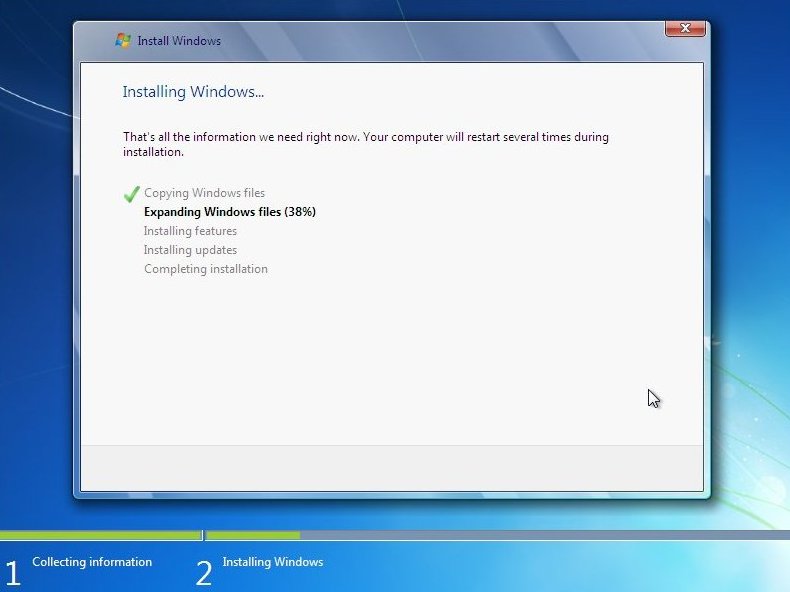
Once done it will begin expanding the "Quite quickly copied files"
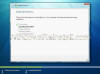
and expand....

Expand a bit more....

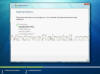
Still expanding, so i took another screen shot....

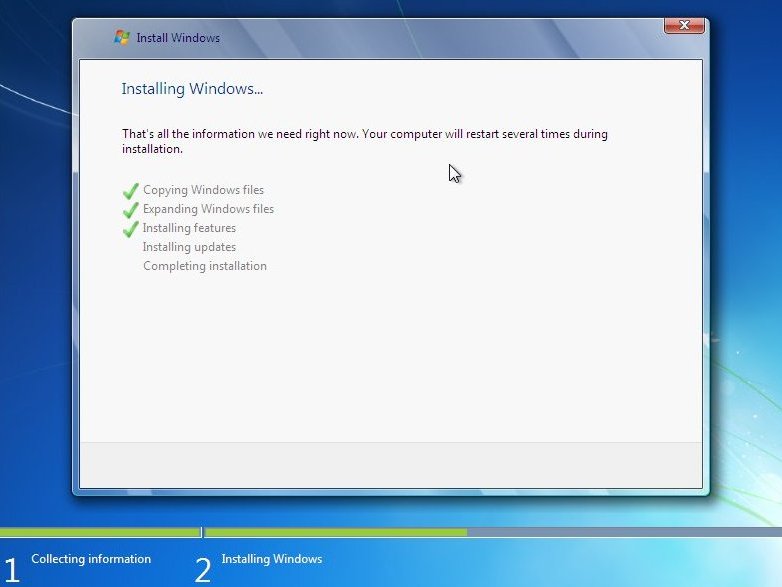
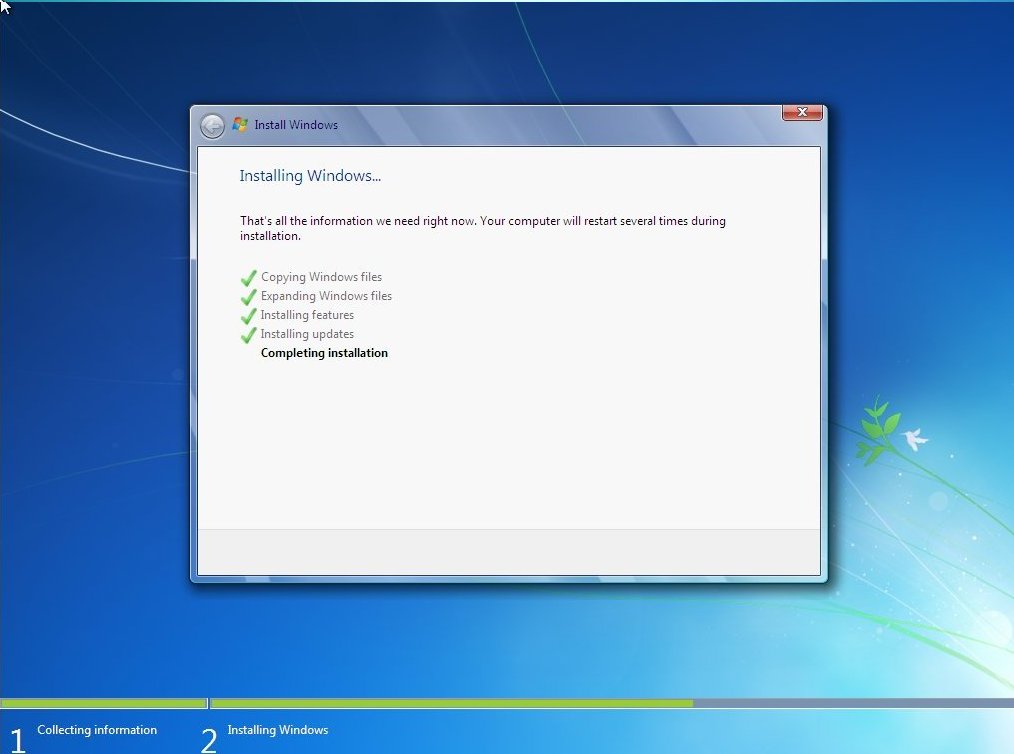
At last the files are "Expanded", now for installing features, this bit was quite quick....

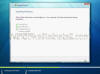
Thankfully no updates down loaded, so on we move :)

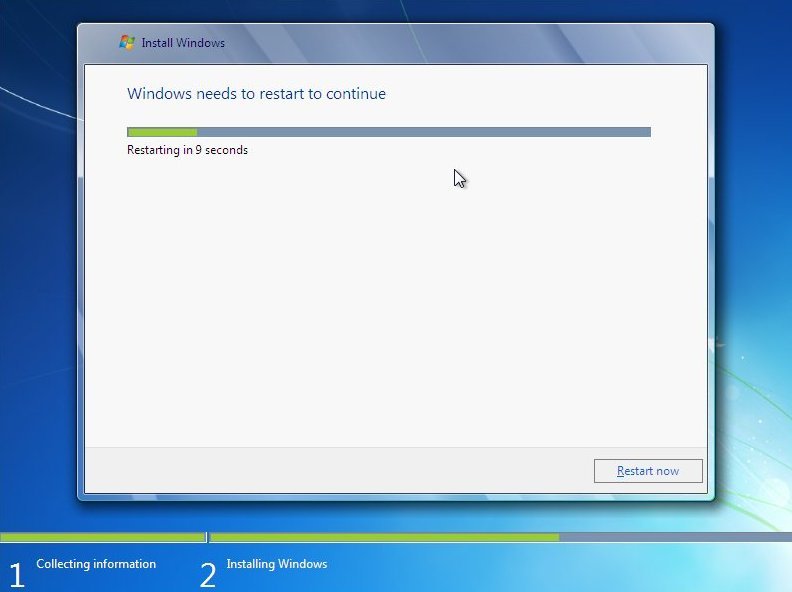
A restart, wait 10 seconds or like me click "Restart" to reclaim these precious moments back....

The computer will restart and post again.

Now "Press any key" boot menu. Do not do this as it will only start the install from the beginning again. Wait the 10 seconds that it appears on screen and resist the temptation...

Windows 7 is now "Starting Windows".....

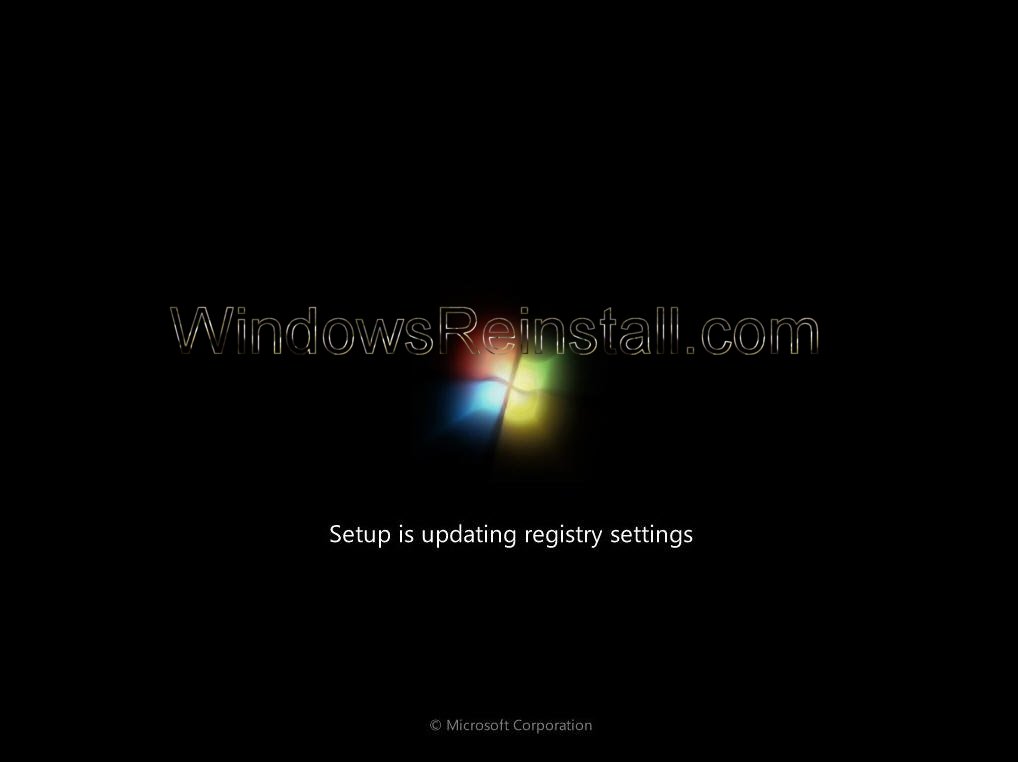
and now Windows sets up the Registry

Now another screen appears, setup is "Starting Windows 7's" services....

Setup now completes the installation....

and once again a "Restart" is needed....

Same as above, do not press a key as installation will begin again, requiring you to reboot to get back to this screen.

"Windows is starting" again......

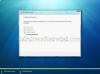
Setup now prepares the system for "First use"....

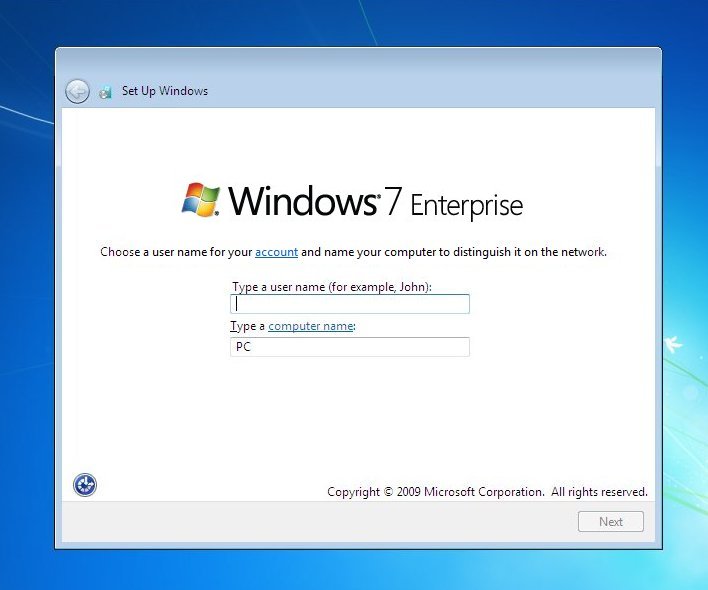
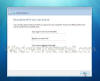
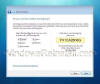
The first time I have needed to do anything in almost 45 minutes, Account and computer name is required....

Fill these in and click next to continue....

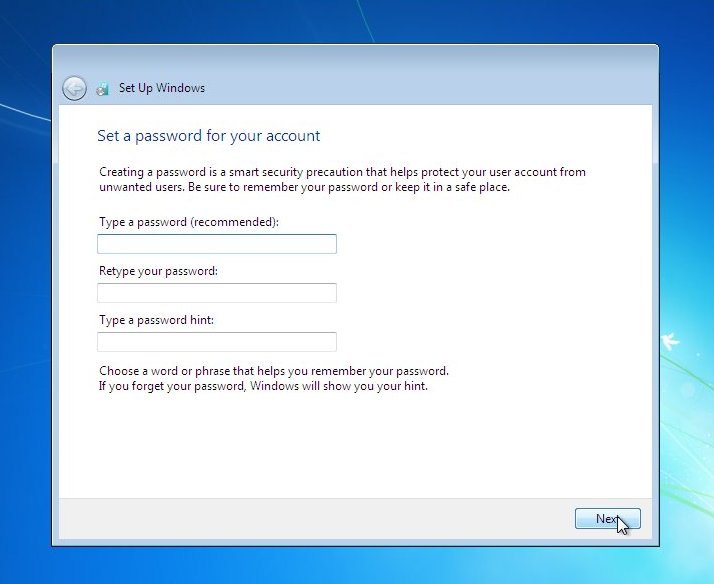
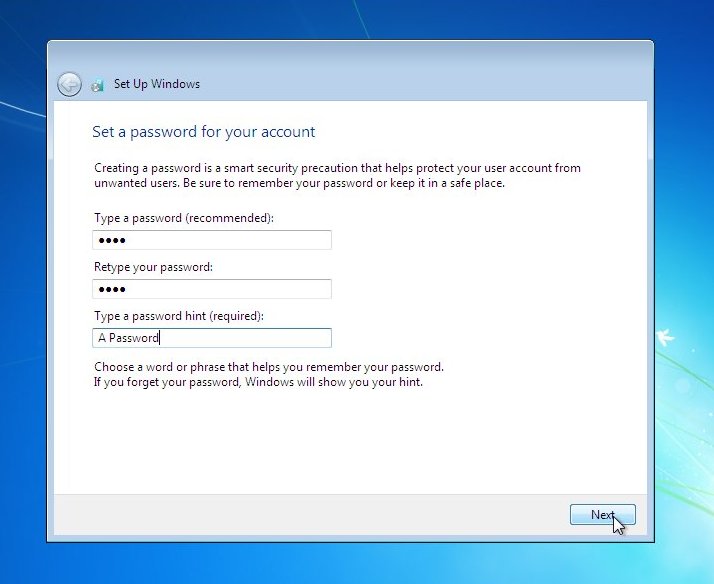
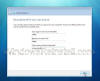
Next the all important password setting screen, leave bank and click next to continue without one, otherwise....

....fill in the password box, retype to confirm, and leave yourself a hint incase it become forgotten. Click "Next to continue.

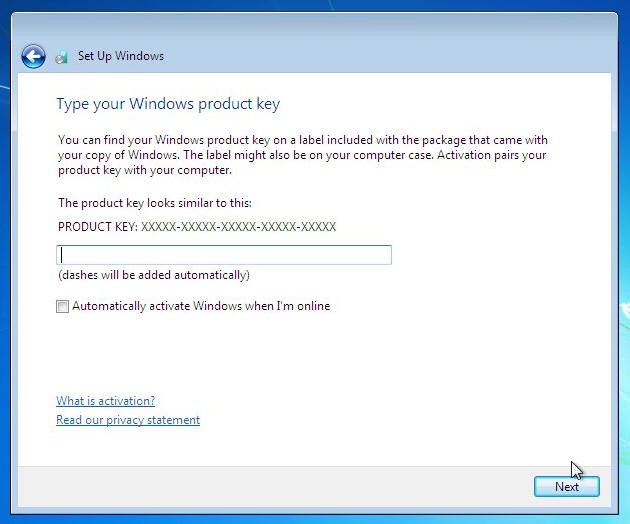
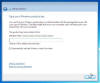
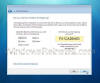
Now enter your product key as requested, then click "Next to continue", you also select "Automatically activate Windows when I'm online", which will do what it says, click on "Next" to continue, or if you wish not to enter your key now, just click "Next".

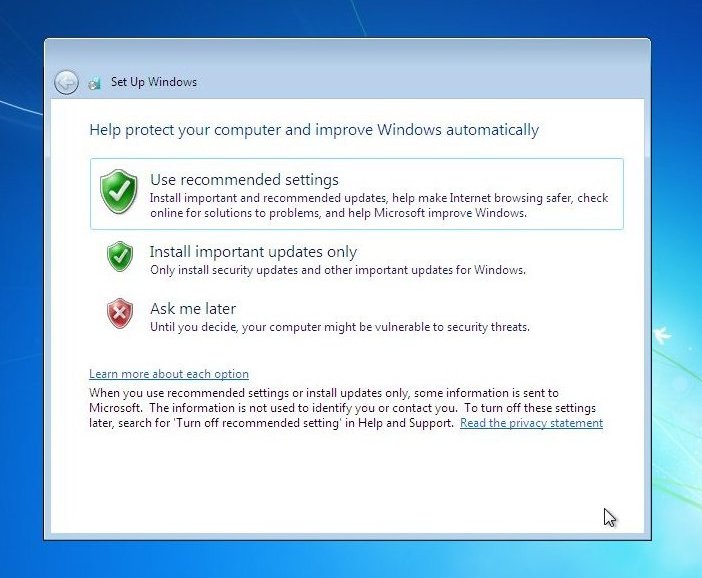
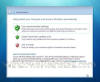
Now the built in Windows protection modes. We would recommend the top option "Use Recommended settings", this will enable updates to be downloaded and installed, click on your selection too continue. 

Now you must review your time and date settings

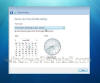
Change your time zone to your present location. If all is OK or once done then click on "Next" to continue...

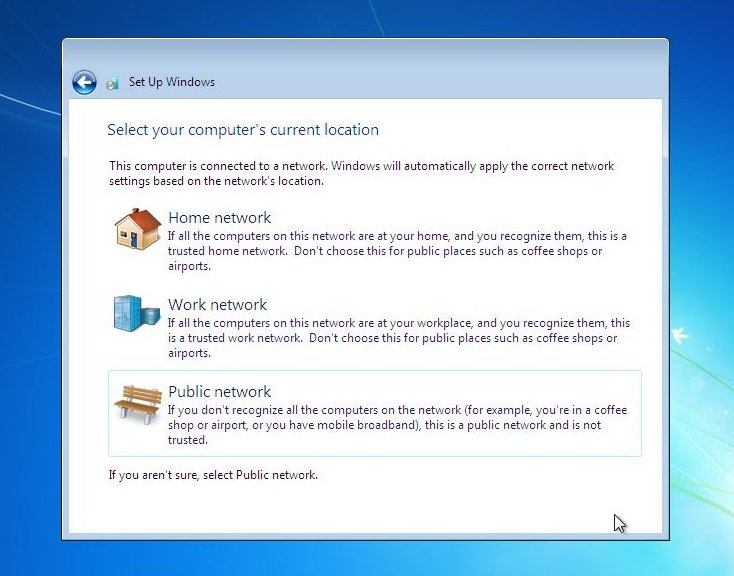
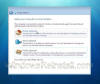
Now your Network configuration, if you want to setup the new "homegroup" network system for easy to configure, password protected configuration, then use this option.

If you want a standard network setup then use "Work Network", allowing you to browse and see other computers

Anywhere that's public, that would be a risk to your files and security, select "Public Network"

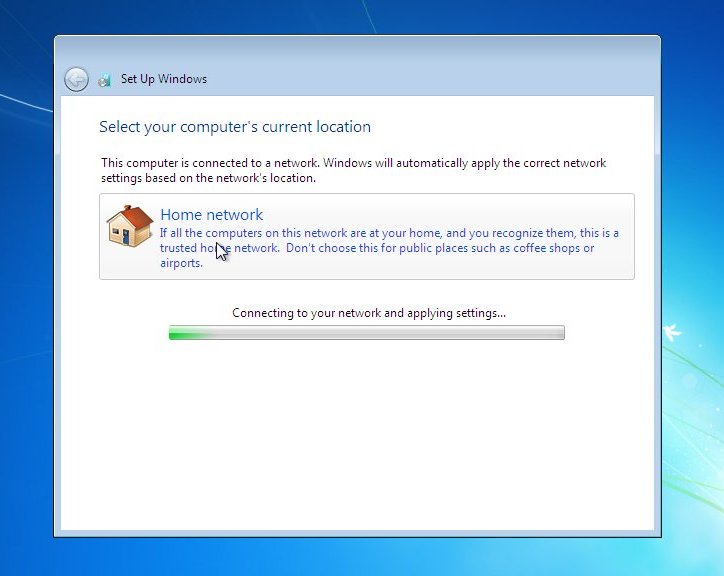
Windows 7 setup will now connect to your network , and setup required settings, depending on your choice in the previous choice....

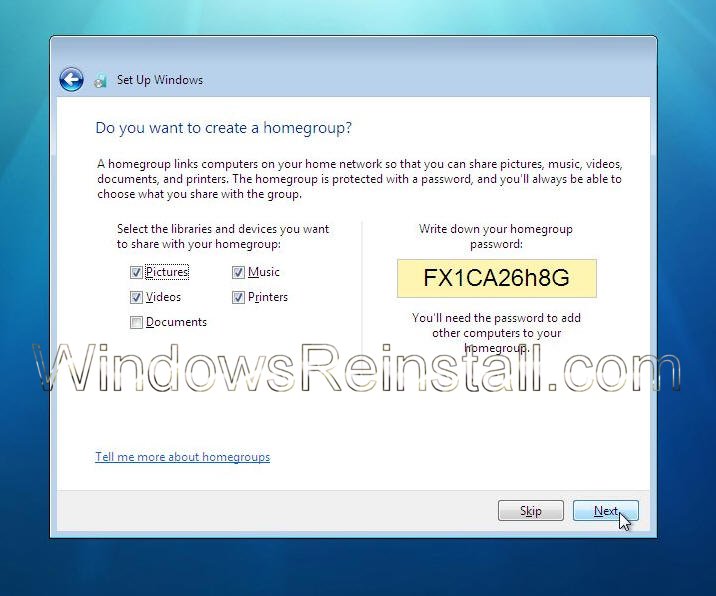
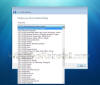
The "Homegroup" option in "Home networking" allows you to select what you want to share, and also provides a password, for others to access. Note this password down as its needed for others to get access to your network.

Users of Media center, Vista Premium (And above), and XBOX 360 will be familiar with this type of setup.

You can of course skip this now and setup later, or make selections, note password and press "Next" to continue.

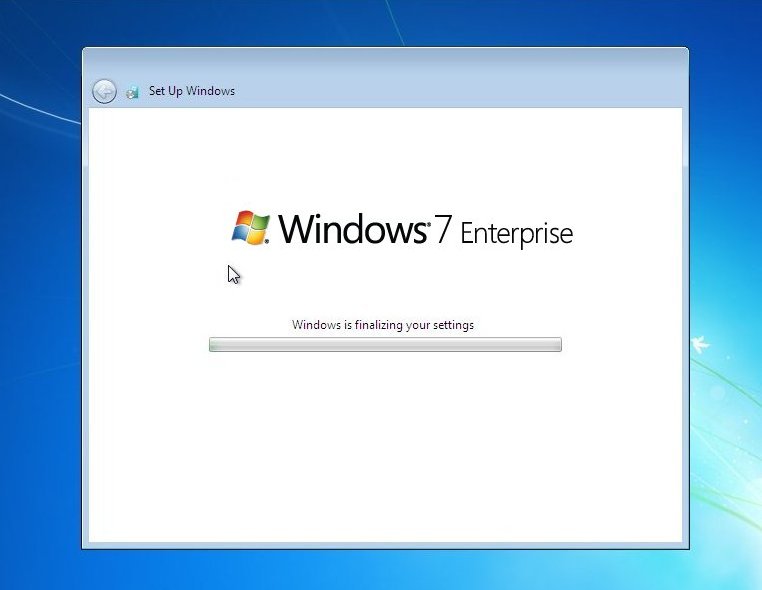
Windows 7 will now finalize your settings

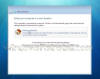
Windows Welcomes you..

Personalised settings will install.

Windows desktop will update

and finally you are there. Windows 7 installed without hitch, any updates will now install. Remember though on next reboot you will be prompted for a password (If you setup one), so don't forget it as I successfully managed to do...

If you are lucky you will have no drivers to install, but chances are the next step will be to install them. Check out device manager for unknown devices, likely items are Network Cards, Sound Cards, Printers, Scanners, Graphics Cards, Digital Cameras, etc. 

Also installing anti-virus software, spyware software and possibly a 3rd party Firewall are a must for any computer.

Windows Update is very successful in finding many drivers, so try running it for a few hours, and after a few boots you may find all items installed and ready for use


THE END