Your Computer will post (These screens will vary from manufacturer images to the text shown below).
After Windows passes the initial Post screens, Windows 7 will begin to load as the hard drive is Blank, this may take sometime.
Windows 7 will now start the install procedure.
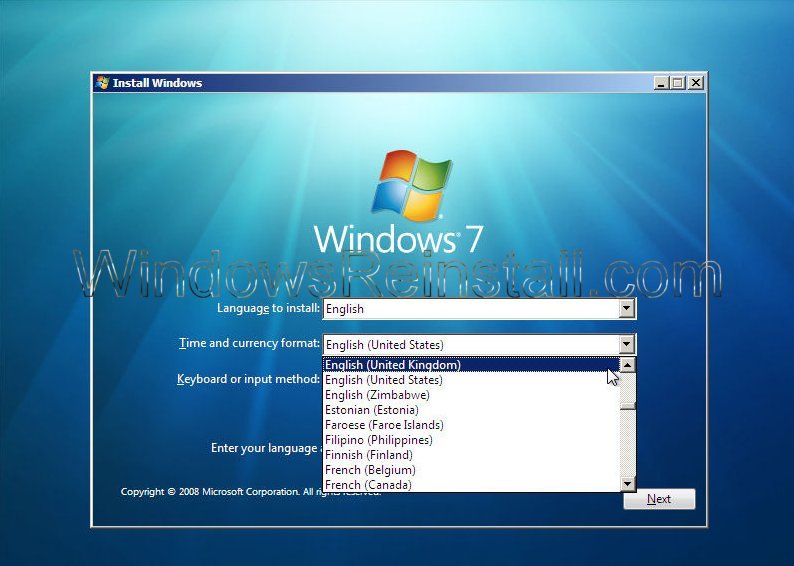
First you need to select your language, then Time and currency...
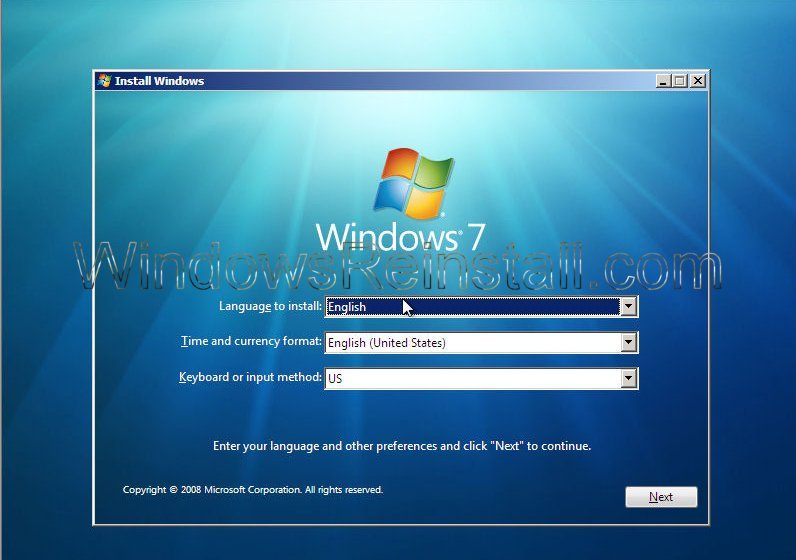
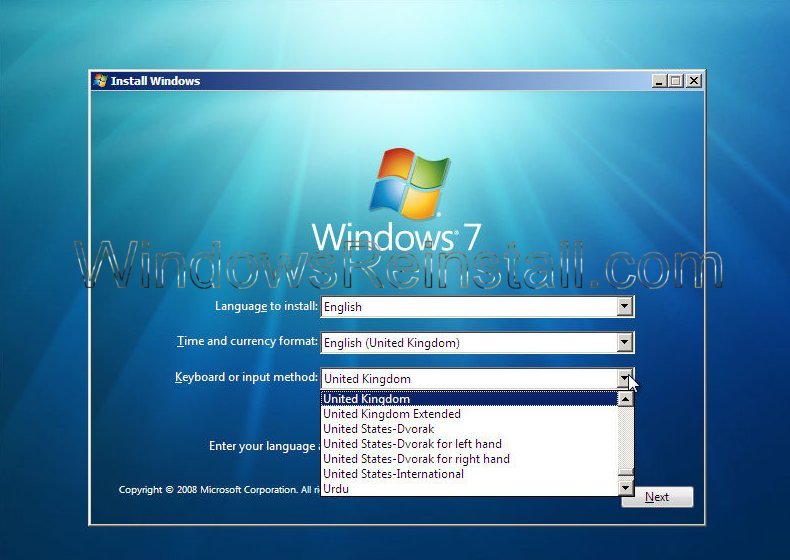
Next set your Keyboard Language. This may have changed correctly when "Time and Currency" option was selected, if not change as needed. Click "Next£ to continue.
Your Keyboard input method will change to the most common used under the "Time and currency" selected, you can change this now if need be.
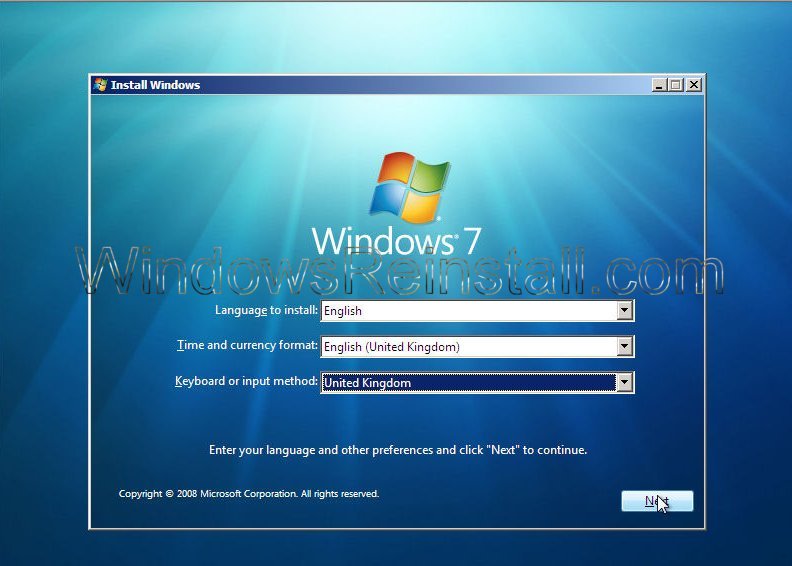
Once happy with your selection click on "Next" to continue
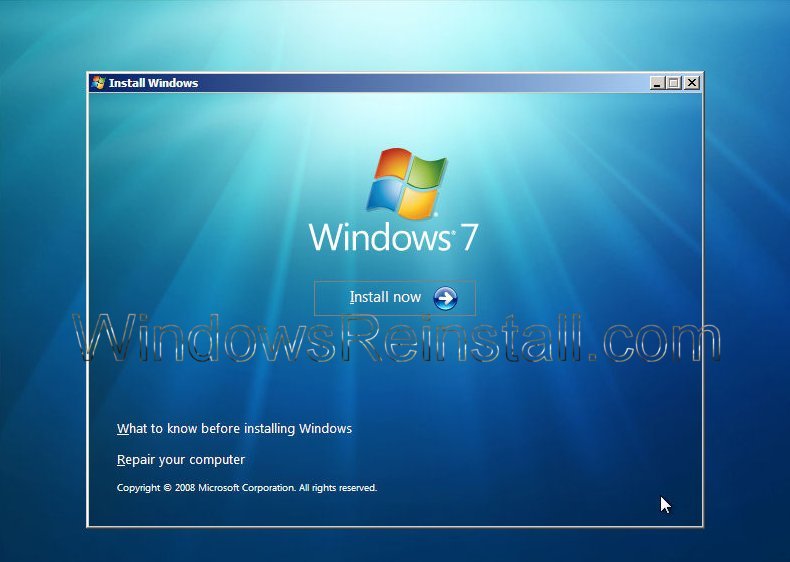
Now the "Install Windows 7" screen will appear, Click on "Install now" to continue.
NOTE: The Repair options on this page are covered in other guides available in the Windows 7 section of www.windowsreinstall.com
Setup will begin...
This is were "Part1" of the install officially starts.. You will now see the bar pictured below at the bottom of the screen. It has no relevance to "Time" in general. It moves fast sometimes, slow other times, If you insist on watching it then don't be worried if it stays in any particular spot for long periods of time.

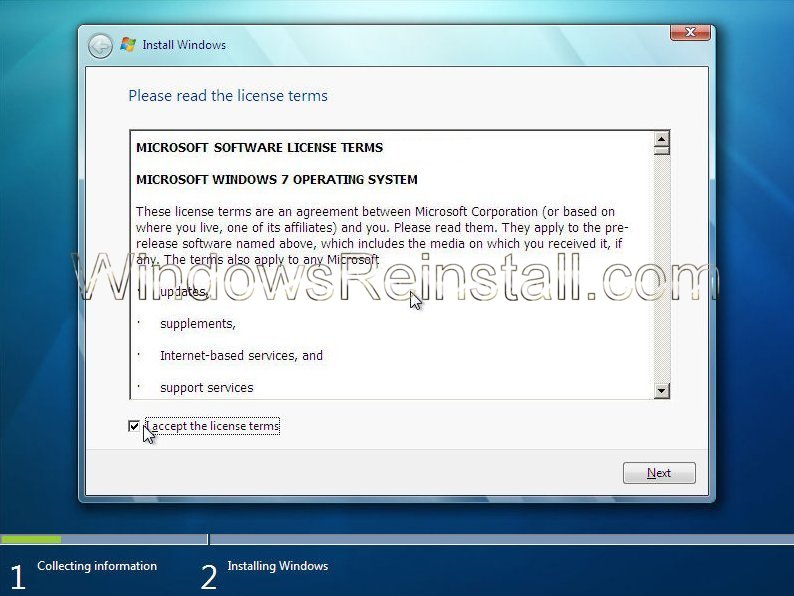
Now the "License agreement".....
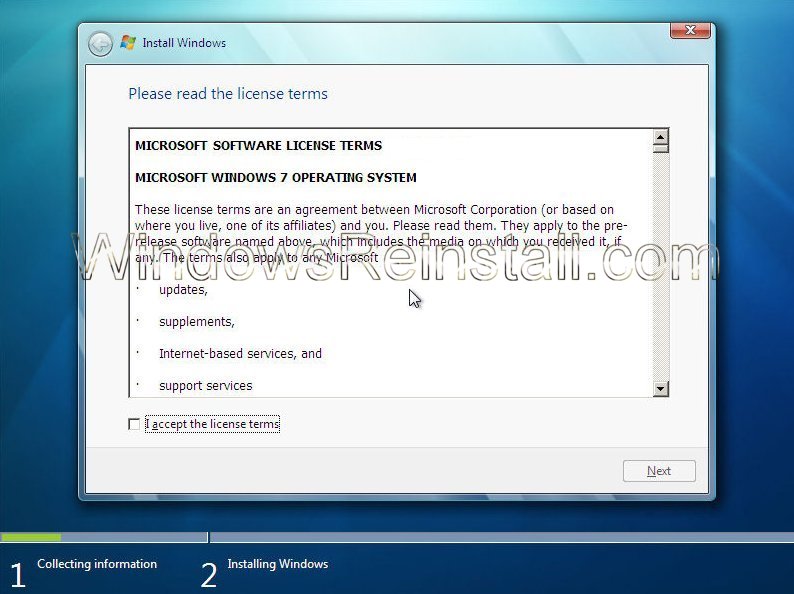
....read them click on "I accept the License terms", then click "Next" to continue. If you don't agree then this is as far as you can go :(
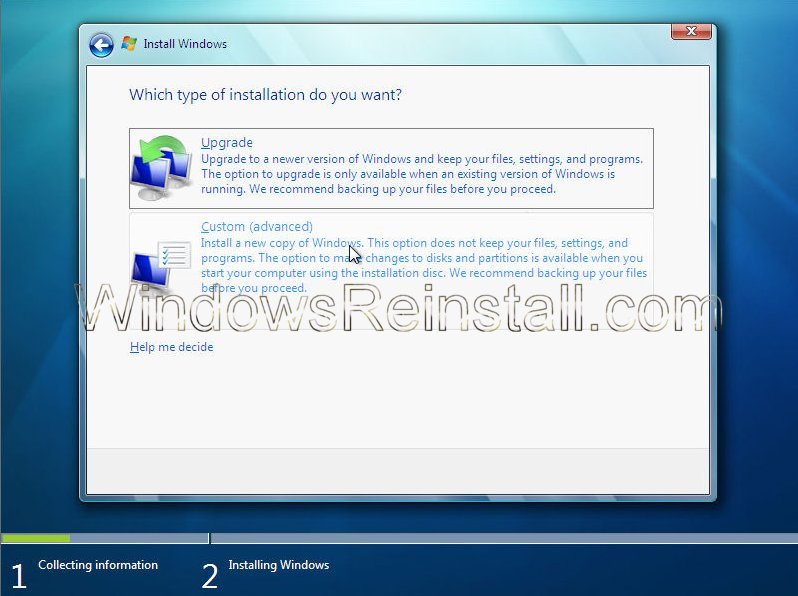
Now the "Type of installation". Click on "Custom (Advanced) to continue..
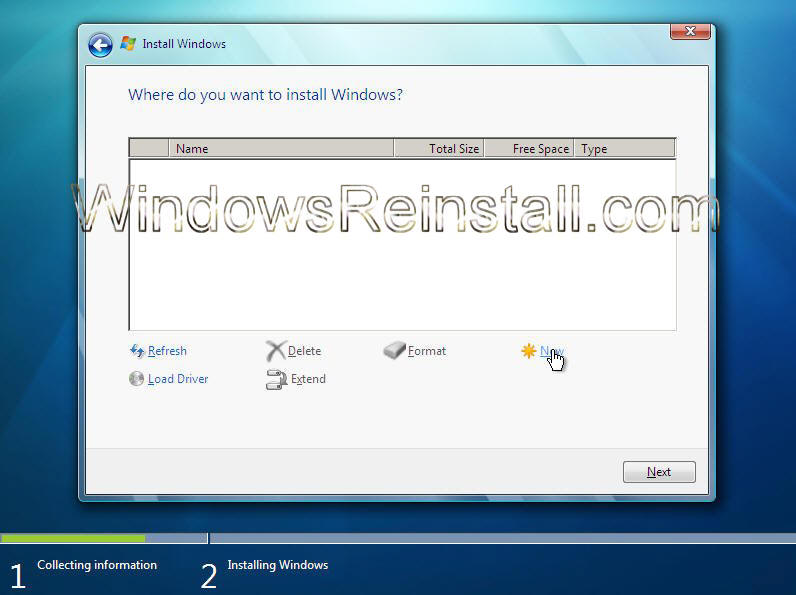
Load Driver Options Menu: Next you will select the location of the install. The hard drive is not seen due to Windows 7 not having the driver. This driver should be supplied with your motherboard, if not it will be available for download from the motherboards manufacturer. This file will then needed extracted and copied a Floppy, CD or USB storage device.
To continue click on "Load Driver"
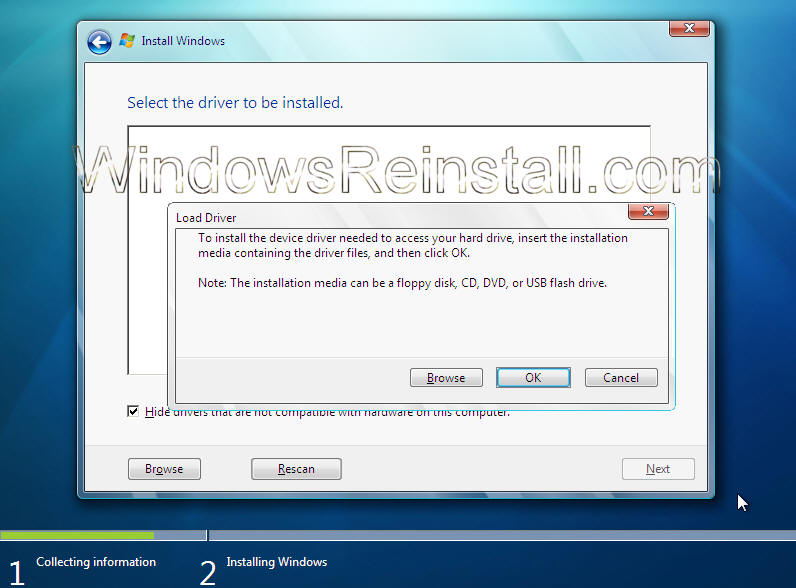
Load Driver Options Menu: Now insert the media that stores the drivers for the device and click OK
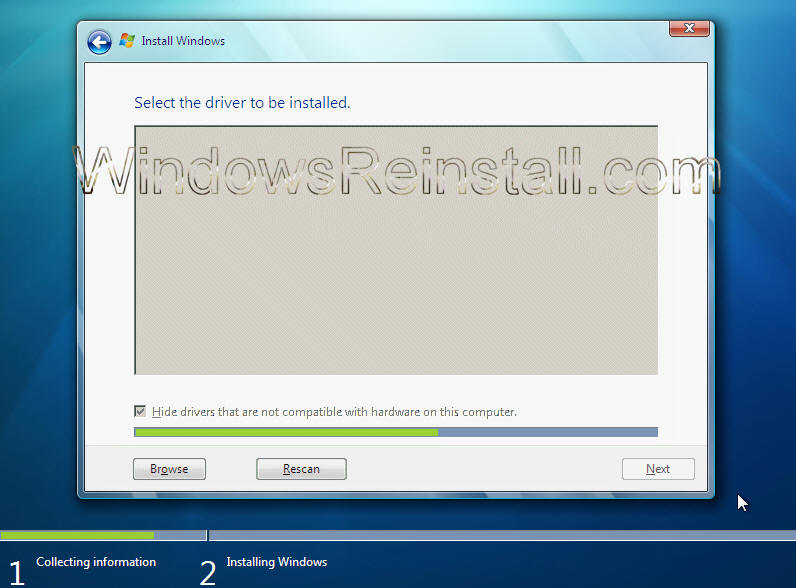
Load Driver Options Menu: Windows will search for it on all available devices.
Load Driver Options Menu: A list of available drivers will appear, select the one that matches your motherboard or hard drive. Click "NEXT" to continue.
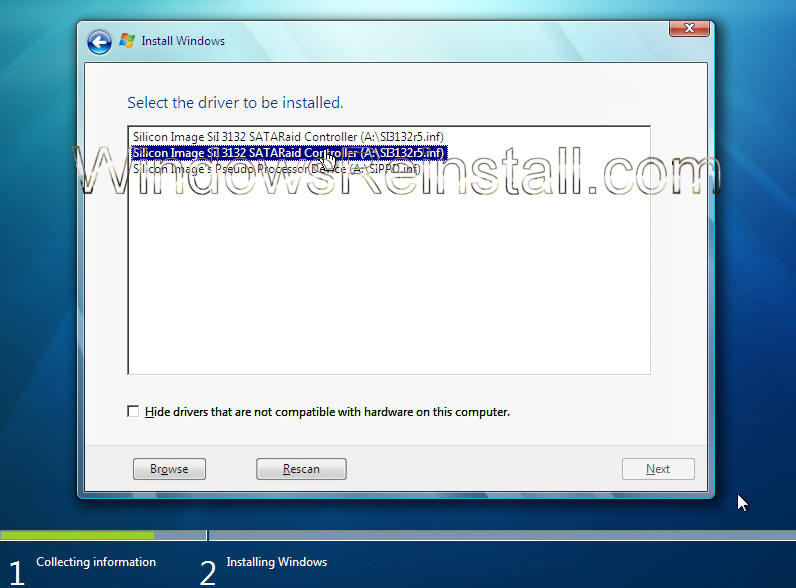
Load Driver Options Menu: With the correct driver loaded your drive should now be seen.
Hard drive setup comes next. Click next for "Automatic Harddrive setup using full capacity", otherwise click on "Drive Options" to configure the drive yourself.
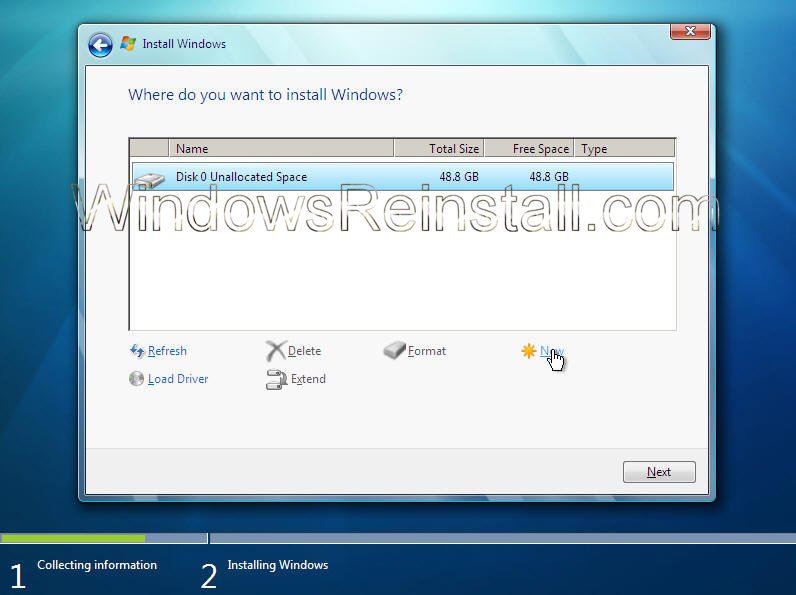
Hard drive should now be seen and be available for configuration, and Windows will continue with its install, see individual guides located in the Windows 7 section of this site for further help. Click here