Welcome to Microsoft's Windows XP
Home Install step by step for new hard drives. This will give you an idea on how
to do this when and if the time arises for you to either reinstall the operating
system, install for the first time or upgrade your present operating system..
This install guide is fully graphical and will take you through each step of the
installation.
Well for this I will show you the
install for Microsoft Windows XP on a fresh unformatted Hard drive. Now follow
the following steps.
-
Set First Boot device in
Bios to CD-Rom
-
Insert your Windows XP CD
-
Save and Exit the Bios, the
system will now boot of the Windows XP CD-Rom
Setup will examine your computer
Hardware

And start the Setup, this will take
a few minutes while XP examines your hardware.

Now from the next menu, hit
"ENTER" to begin the install
Now you must agree to the
"LICENSING AGREEMENT". Read and press F8 if you agree.

Now you must setup the hard drive.
Unless you have a need for several drives (C, D, E etc) then leave the default
and press "ENTER" to continue.
Now you will be asked to choose how
you wish the drive formated. Unless security is an issue I would use
FAT32. Either way select what you want using the arrow keys and press enter to
start the format.
The system will start formating,
this may take quite a while so be patient.

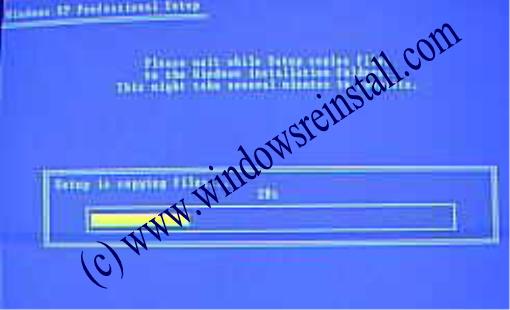
Setup will start copying files
again.
Etc

Partition Setup is now complete,
Press "ENTER" to reboot, failing that windows does itself in 15
seconds.

The system Restarts

And starts installing again
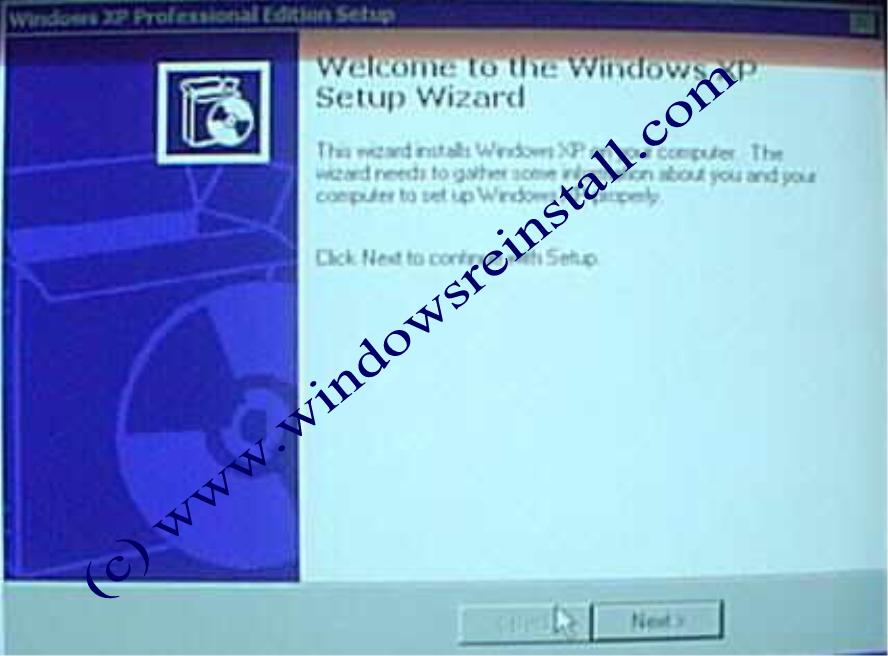
The setup wizard appears, Click
"NEXT"
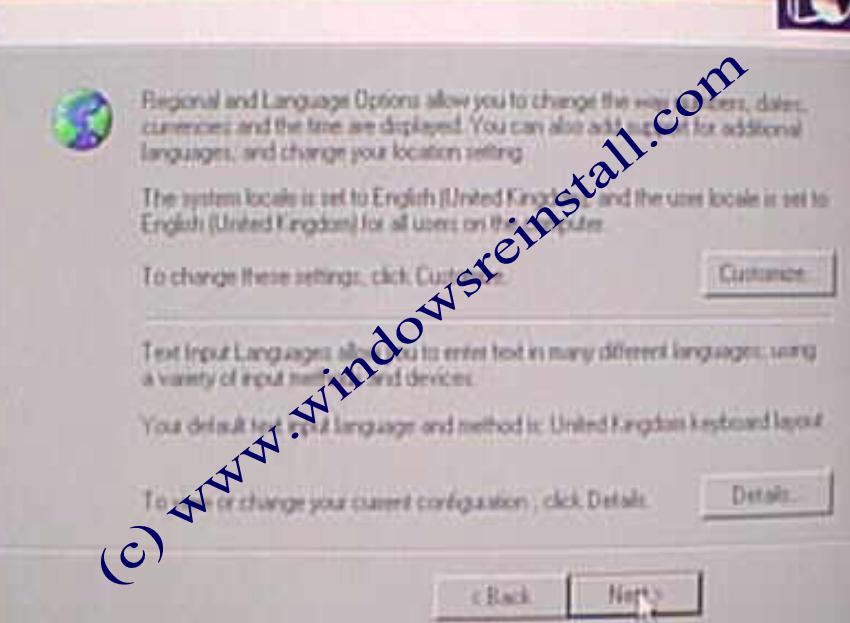
Now Regional and Language Options.
Click on "CUSTOMIZE"
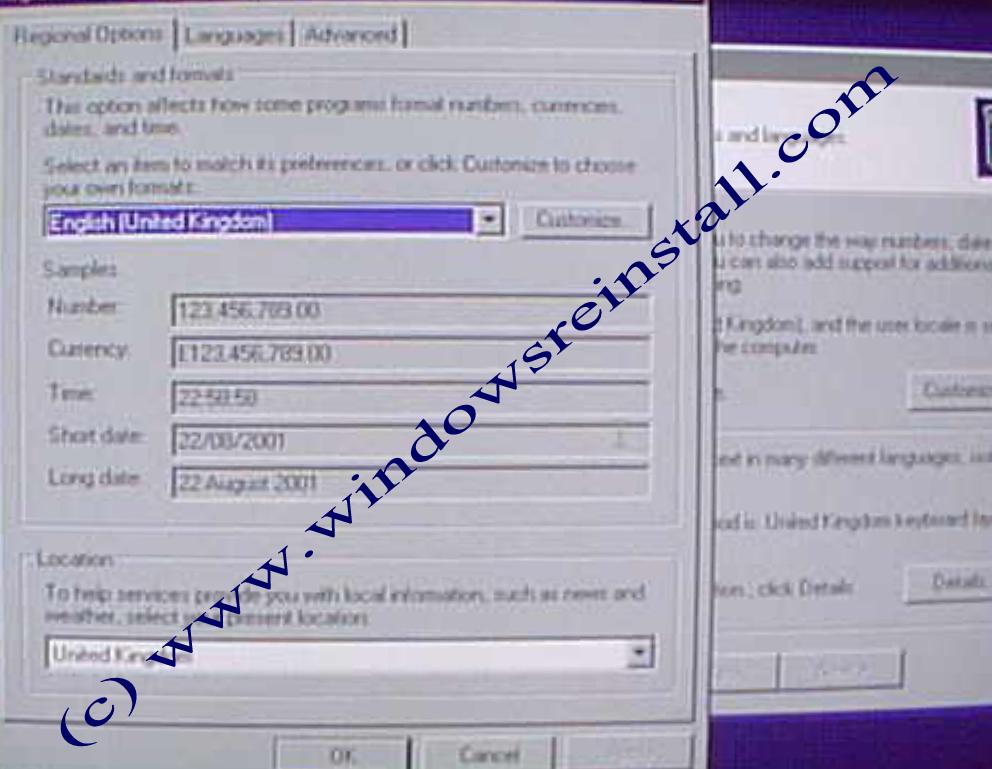
Select your location and
number/currency format. Click OK when Finished.
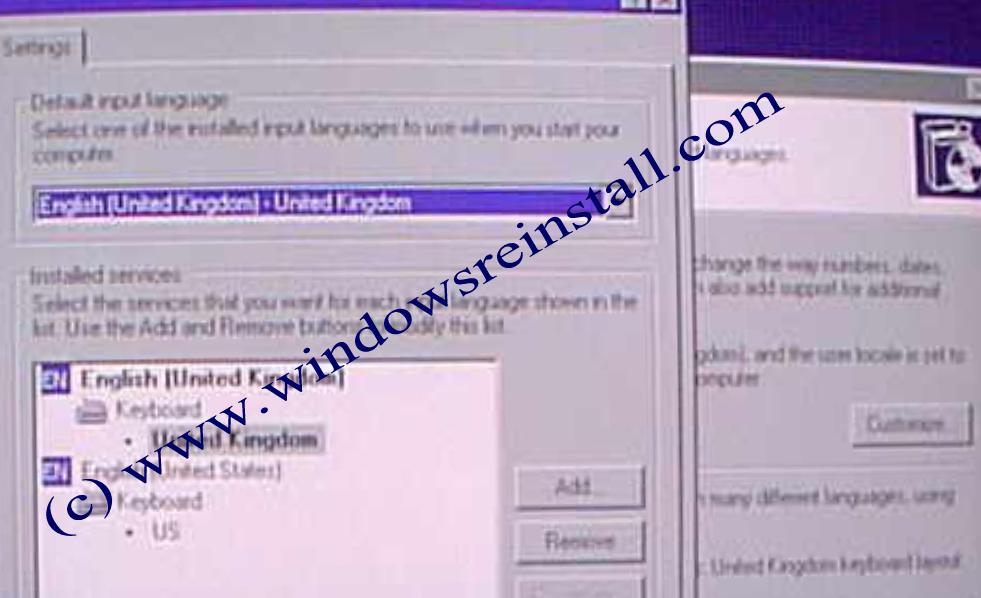
Now Click on "DETAILS"
Change if needed your input language
and your keyboard settings. Click on "OK" to continue.
Now you are finished , click
"NEXT"
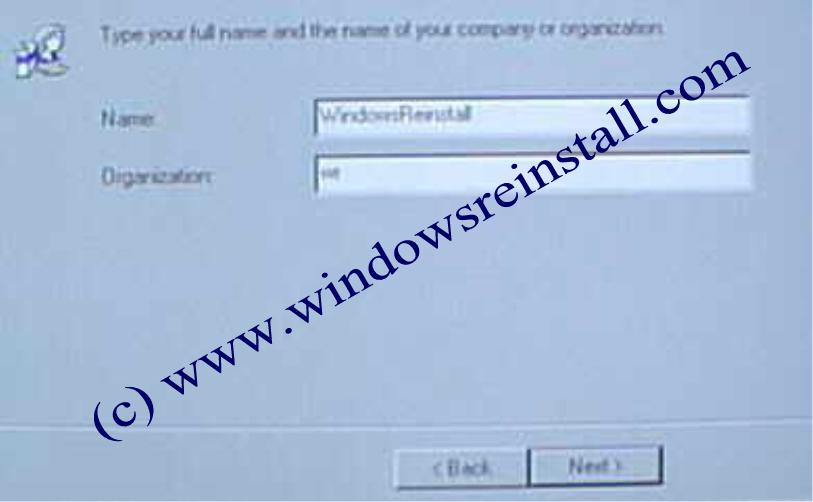
Now You will be asked for your
name and Organization, put what ever you wish here. Click "NEXT" once
filed in.
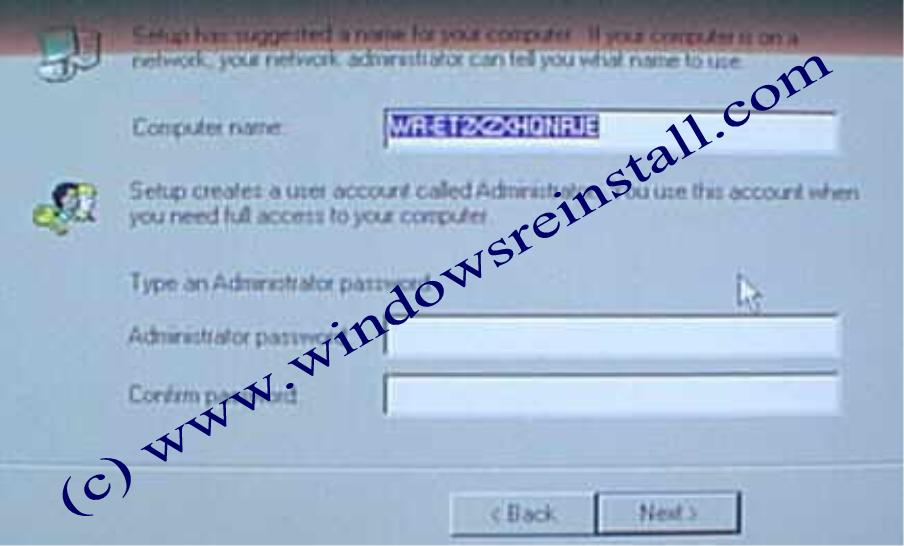
Now Computer Name, change or
leave as you wish, we recommend that you leave the Admin Password blank, in mean
time this can be altered once in windows, click next to continue
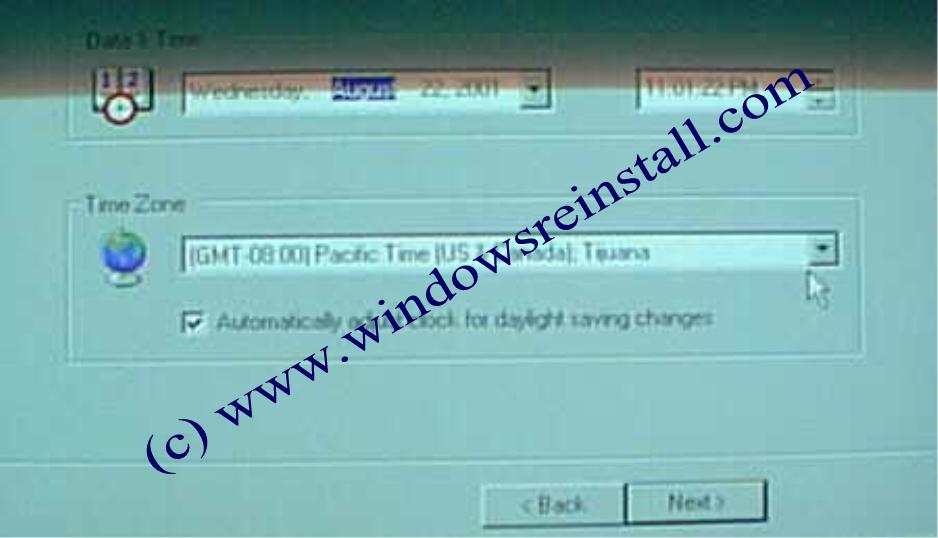
Now select your Time Zone, in
accordance to where you live, click next to continue
Windows will now install some more.
And now windows will finalize the
installation, among other things
Windows XP will reboot the computer and continue loading
and you will be welcomed as you
approach the new desktop

you will now be asked for user
names, fill in as needed

and that is you, an on screen thank
you

and a welcome....

your new operating system awaits...
THE END.....
