10374 

Microsoft Windows 2003 .net Server

DO YOU WANT TO DOWNLOAD THIS INSTALL DOCUMENT - CLICK HERE

Welcome to Microsoft's Windows 2003 .net server install step by step. This will give you an idea on how to do this when and if the time arises for you to either reinstall the operating system, install for the first time or upgrade your present operating system.

Well for this I will show you the install for Microsoft Windows 2003 .net server. Now follow the following steps.

  • Put Windows 2003 .net Server CD into CD-Rom/DVD Drive.

  • Confirm first boot device in bios is set to CD-Rom.

  • Restart Computer

The following screen now appear, Windows 2003 .net Server is ready to install. Press any key on the keyboard to proceed. You have a limited time to do this.

Windows Will now install third party devices, be patient.

If You are using an evaluation version, the following screen will appear. Press the "ENTER" key on your keyboard to continue. If it the full version, then continue to the next step.

Now the User Agreement. Read, and if you agree press the "F8" key to continue.

Note if you disagree and press the "ESC" key then setup will stop.

Now the next screen that will appear will give you the option to the install location. To delete your hard drive, make sure that the partition is highlighted, and then press the "D" key on your keyboard.

To confirm you want to delete the partition, press the "ENTER" key on your keyboard.

Now that you are sure that you wish to delete the contents of your harddrive, press the "L" key on your keyboard. 

Note. Anything located on that drive will be gone once you do this.

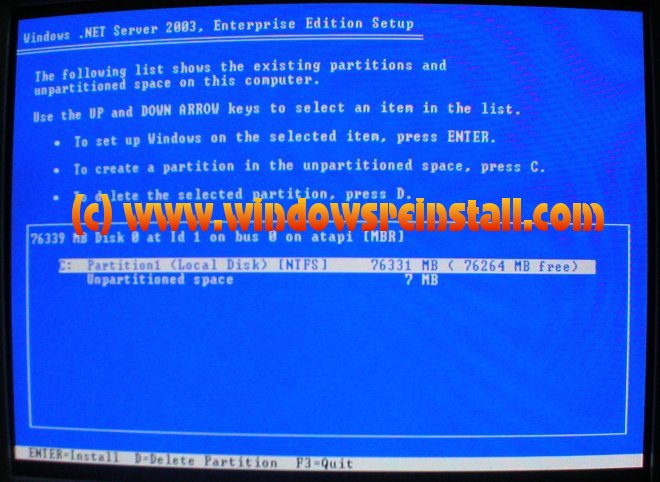
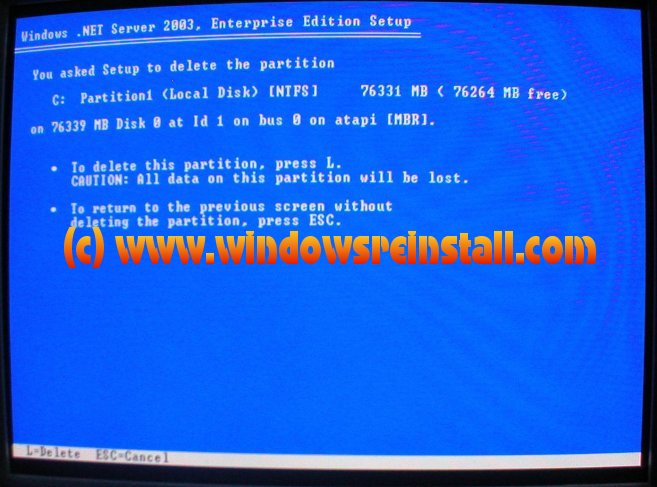
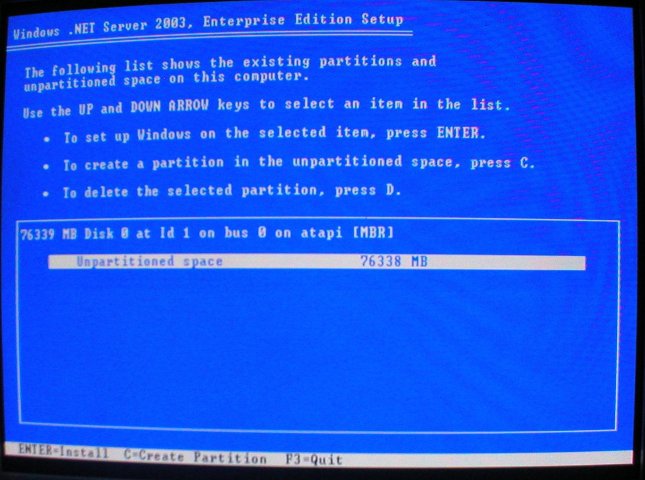
Now you will select where you wish to install Windows 2003 .net server. We have only one hard drive, so to continue make sure the correct drive is selected and press the "ENTER" key. You can create and delete partitions at this time, but we advice to keep the drive as one partition.

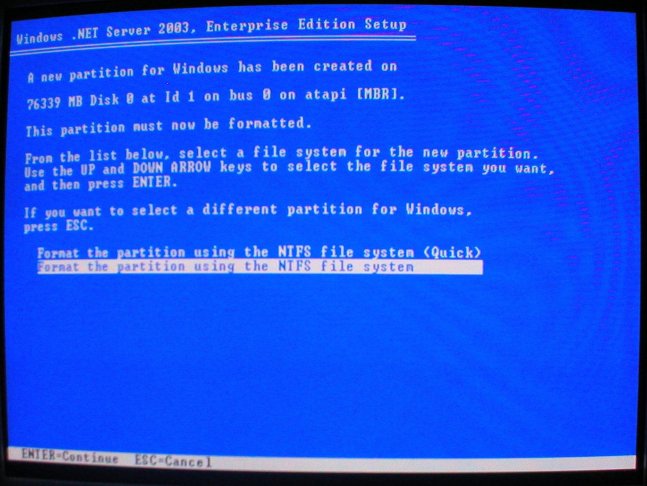
Now select how you want the drive formated. We advice using the "FULL" format, or the bottom option, as shown in picture below. Once selected press the "ENTER" key

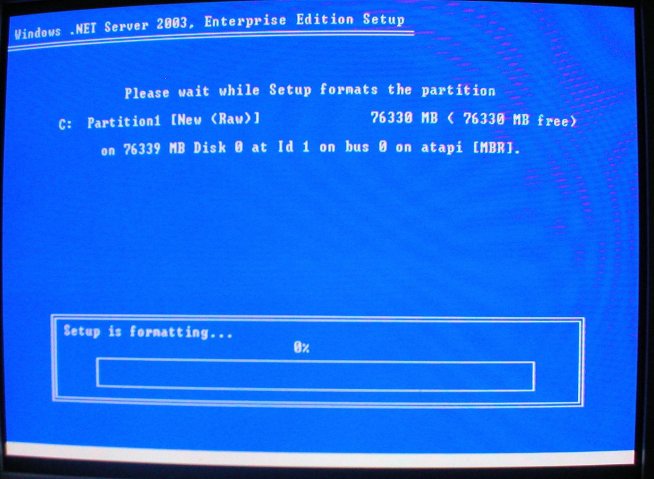
Windows will now format the drive. Be patient as this can take some time

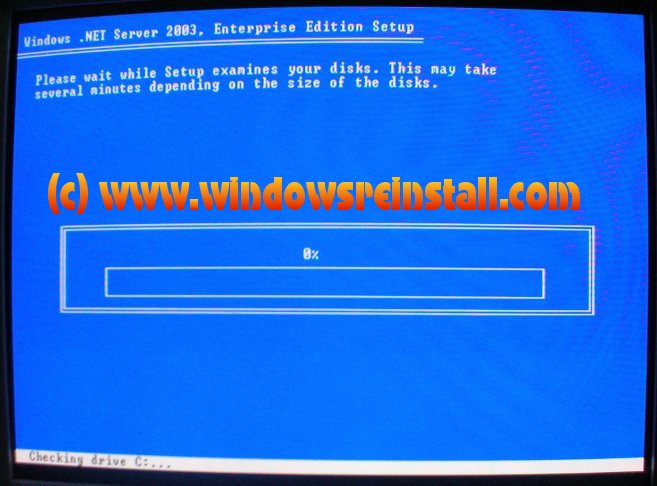
Once formated Windows will continue to check the drive. Once again be patient.

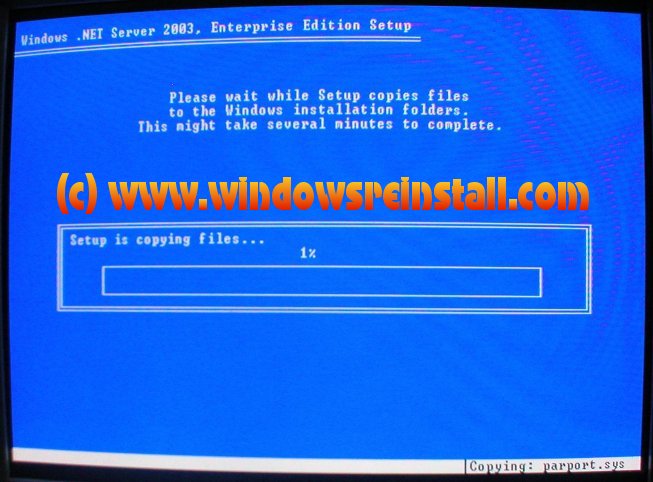
Once that is complete the file copying process will begin. Be patient as this may take several minutes.

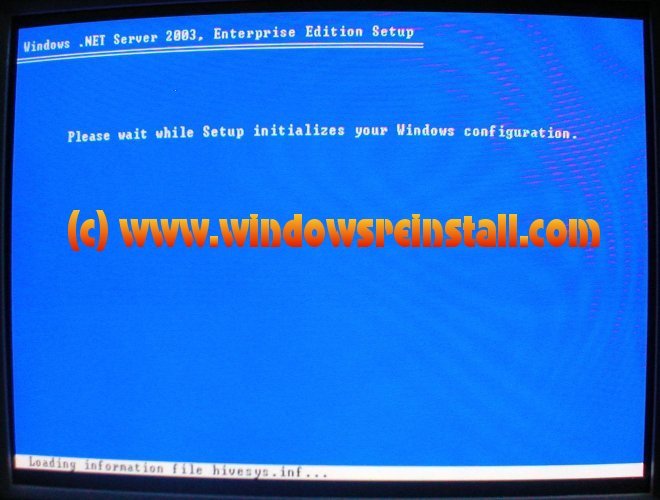
Setup will then initialize the configuration engine. Once again be patient.

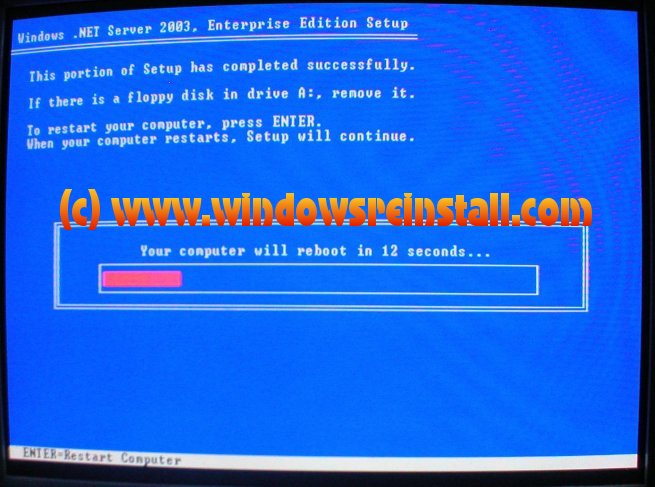
At this stage remove any floppy disks, as windows will reboot. It will take 15 seconds, or if you have no patients, then hit enter to do it immediately.

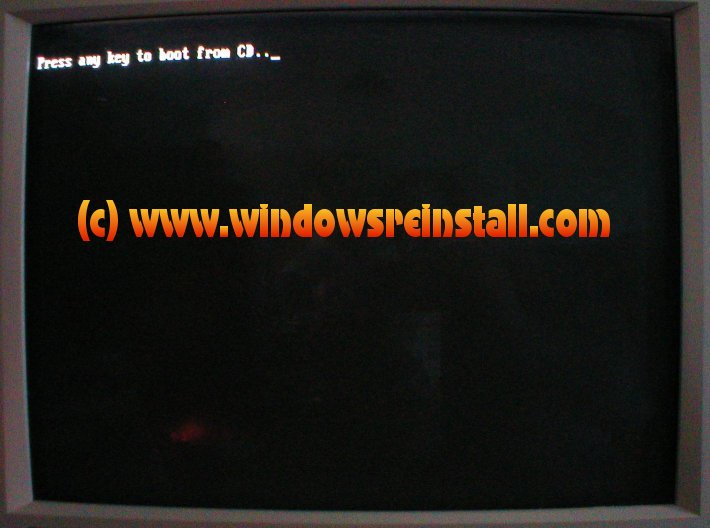
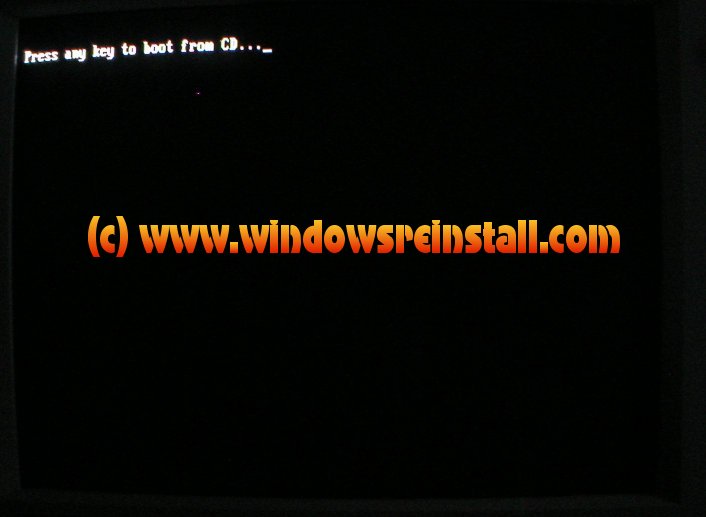
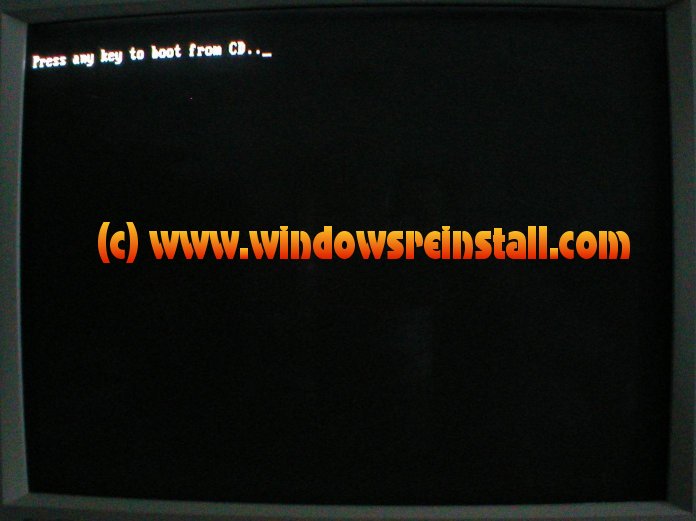
Your computer is now rebooting. The "Press any key to boot from CD.." message will appear. Ignore this and allow windows to continue installing.

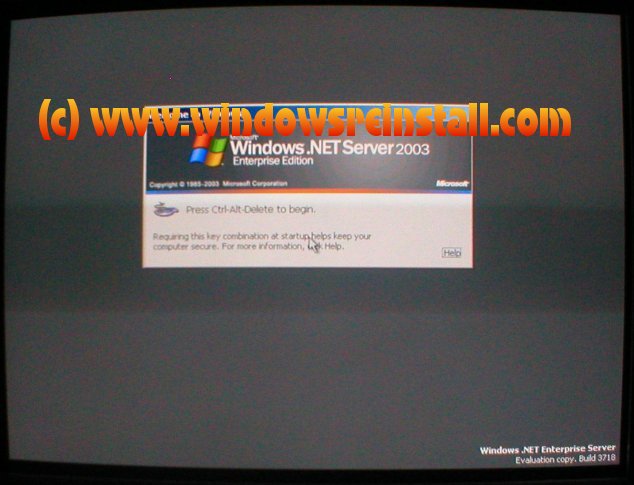
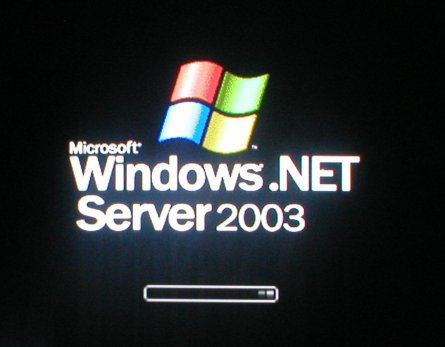
Windows will continue to load.....
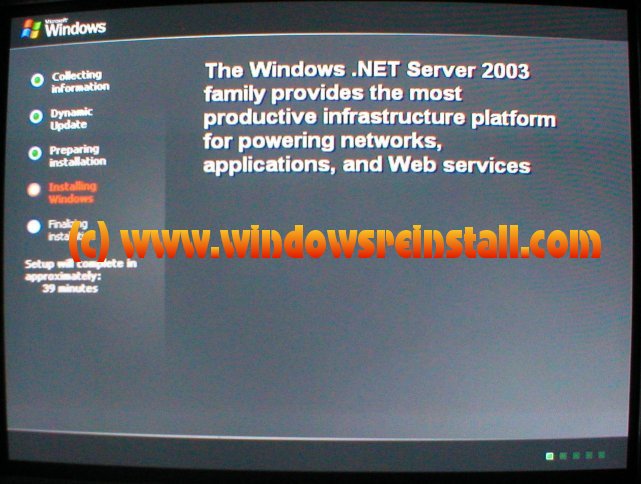
... and install.

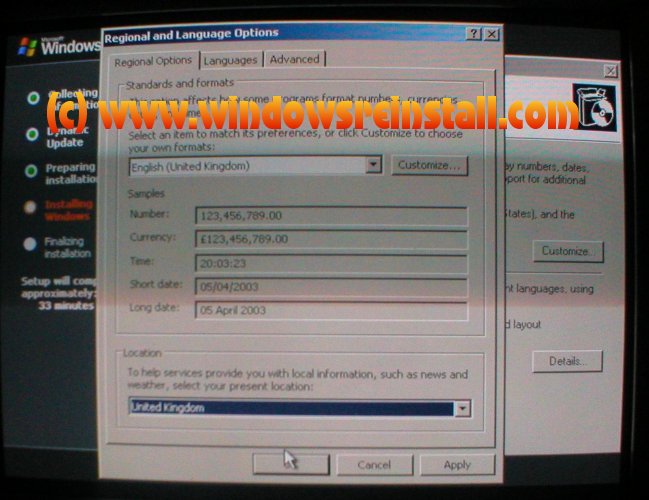
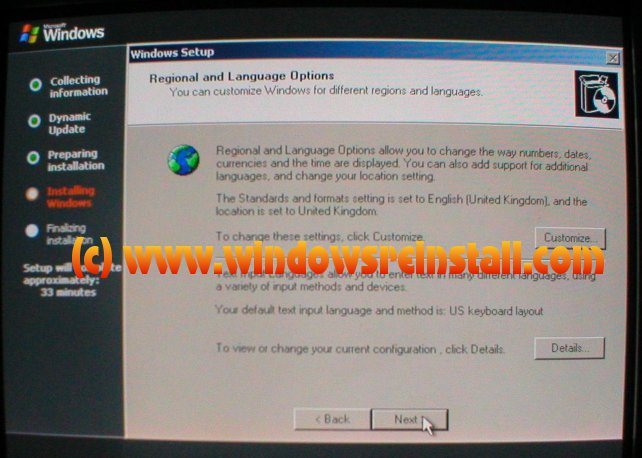
Now Regional and Language Options. Click on "CUSTOMIZE"

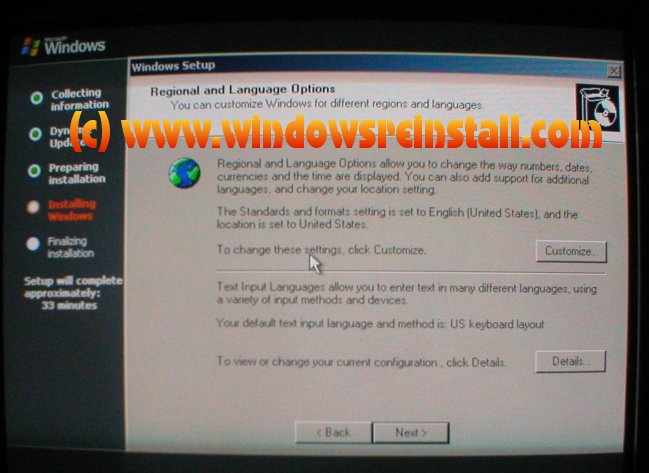
Change your "Standards and Formats" to your locale.

Now change your Location, to your country settings. Click "APPLY" and then "OK" to continue.


Now Click on Details

Next change your keyboard settings default to that of your country. Click "APPLY" and then "OK" to continue.

Now click on "NEXT" to continue.

Now fill in your "NAME" and "ORGANIZATION" details. Click on next to continue.


Now fill out your product key information. This can be fount on your Windows CD Folder, or will be supplied by Microsoft.

Next select your licence mode and the number of computers that will be connected to it. Click "NEXT" to continue.

Now select the "COMPUTER" name and put a password for admin in the password boxes. Make sure password is identical. And don't forget it. You can leave these blank, if you believe the computer will be in a secure area. Click "NEXT" to continue.

If you have not put a password in then the an error will appear. Click "YES" to continue without password or "NO" to enter one.

Now select "TIMEZONE" and set "TIME" and "DATE" if need be. Click "NEXT" to continue.

Windows will now continue installing.

Now Network settings. Select "TYPICAL". These can be configured once in Windows. Click "NEXT" to continue

Now select your "WORKGROUP" or "DOMAIN" that the computer belongs to. Click "NEXT" to continue.

Windows will continue installing. This may take some time. Be patient.

Your computer will now reboot. The "Press any key to boot from CD.." message will appear. Ignore this and allow windows to continue.

Windows will now start loading for the first time.

Now you are approaching the login screen.

At this screen press "CTRL", "ALT" and "DELETE" to login.

Now enter your password, (or nothing if you have no password) press "OK" to login.

Now information on managing your server will appear. Read what information that you require before closing down.

Welcome to Windows 2003 .net Server.


THE END


Disclaimer

Any named products on this website are copyright © and/or trademarks ™  of their respective companies.

INFORMATION ON THIS WEB SITE IS PROVIDED "AS IS" WITHOUT WARRANTY OF ANY KIND, EITHER EXPRESS OR IMPLIED, INCLUDING, BUT NOT LIMITED TO, THE IMPLIED WARRANTIES OF MERCHANTABILITY, FITNESS FOR A PARTICULAR PURPOSE, OR NON-INFRINGEMENT.

Information on this web site may contain technical inaccuracies or typographical errors. Information may be changed or updated without notice. Windows Reinstall or the author will not be responsible for damage or loss of data. You are advised to backup data regularly

Whilst every effort is made to ensure the correctness of the information contained herein, the author can accept no responsibility for damages caused directly or indirectly from the use of such information. By entering this site you are agreeing to this and also to never suing the author.

(c) 1999 - 2003  www.windowsreinstall.com and Mark Walmsley, all rights reserved - Site Launched 20/11/2000all rights reserved - Site Launched 20/11/2000